Check out our tutorial and learn how you can make your own vintage-style spun cotton doll heads from ø 30 mm spun cotton balls.
Vintage spun cotton doll heads are rare works of art and prized items among collectors. Their making is a tradition that started in Germany back in the late 19th century.
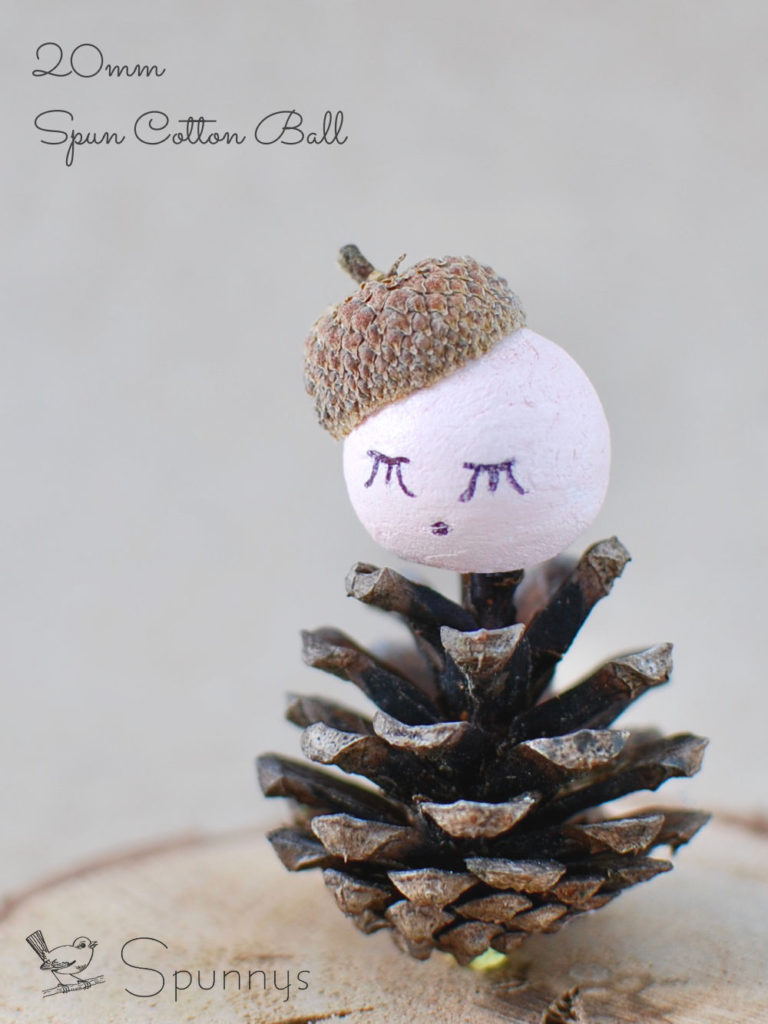
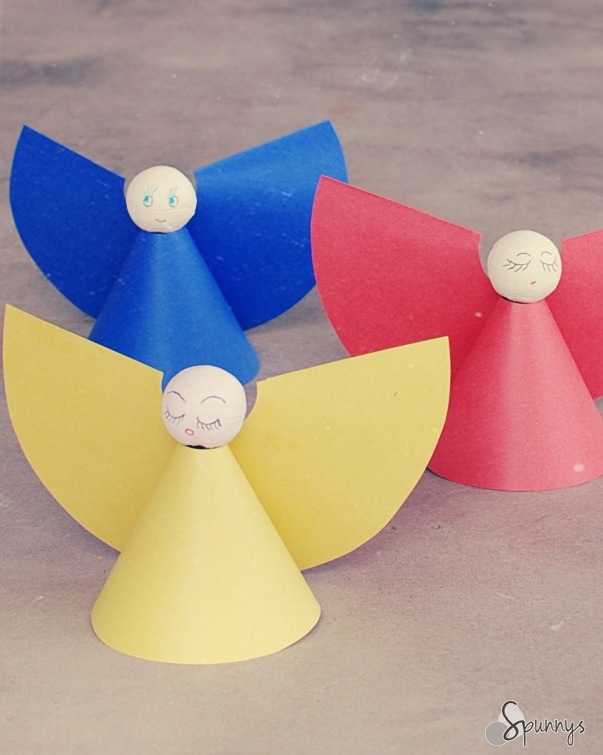
You can use the finished doll heads to fashion beautiful vintage angel figurines, elves and fairies ornaments, Christmas doll ornaments, pine cone fairies, tatted angels, and more.
Vintage Spun Cotton Doll Heads – Materials:
- ø 30 mm SPUNNYS spun cotton balls (about 1-3/16 inches).
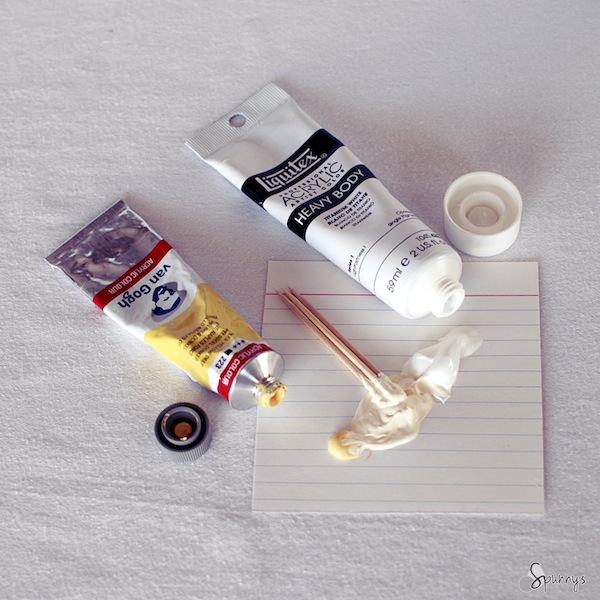
- Paint for the desired skin tone (acrylic paint works particularly well).
- A few color pen (ballpoint or ultra fine markers) – black, red, and blue.
- Toothpicks or bamboo skewers to rest the balls while the paint dries.
- A pencil and an eraser to outline facial features before drawing permanently.
A simple ballpoint pen works fine to draw on spun cotton .
Step by Step Directions:
1: Make your “vintage color” paint mix. Vintage spun cotton doll heads are often a pale brown, yellow or pink. You can easily obtain these colors by mixing a little white in your paints.
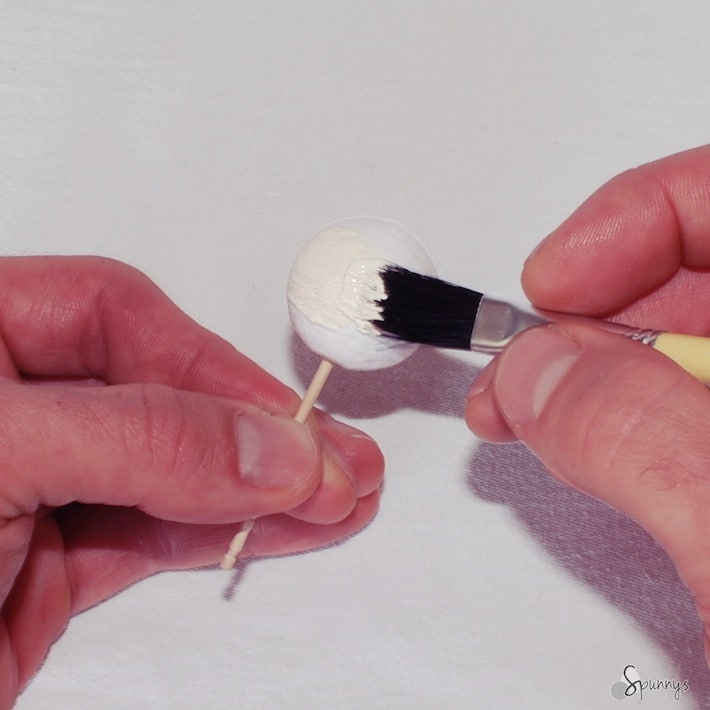
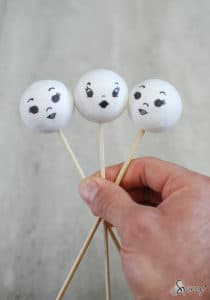
2: Paint the balls with the desired skin tone color. It helps to hold the balls on a toothpicks or bamboo skewers while painting them. Paint should only take about 10 min to dry.
Step 1 Step 2
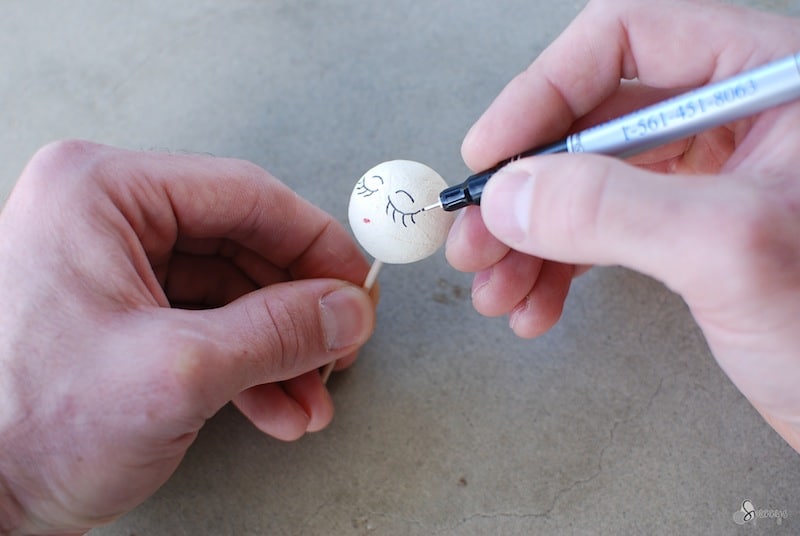
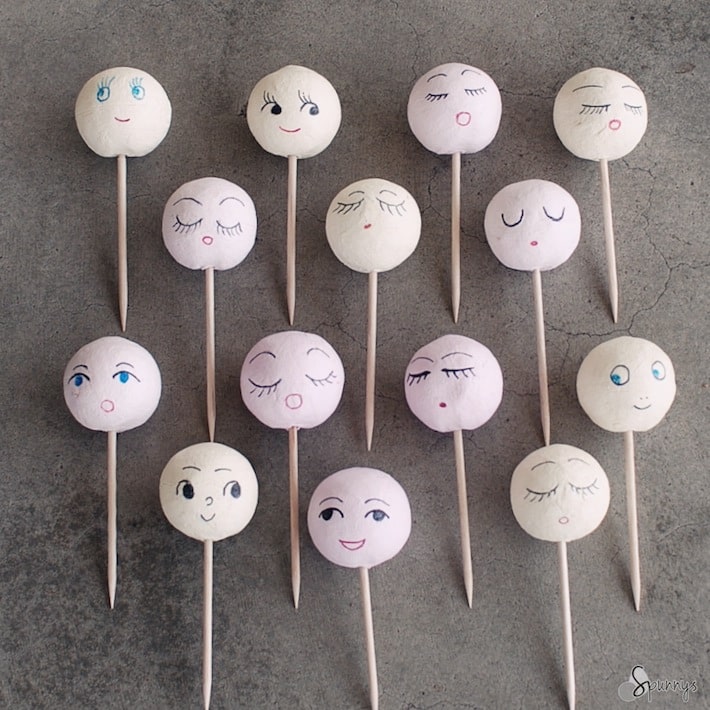
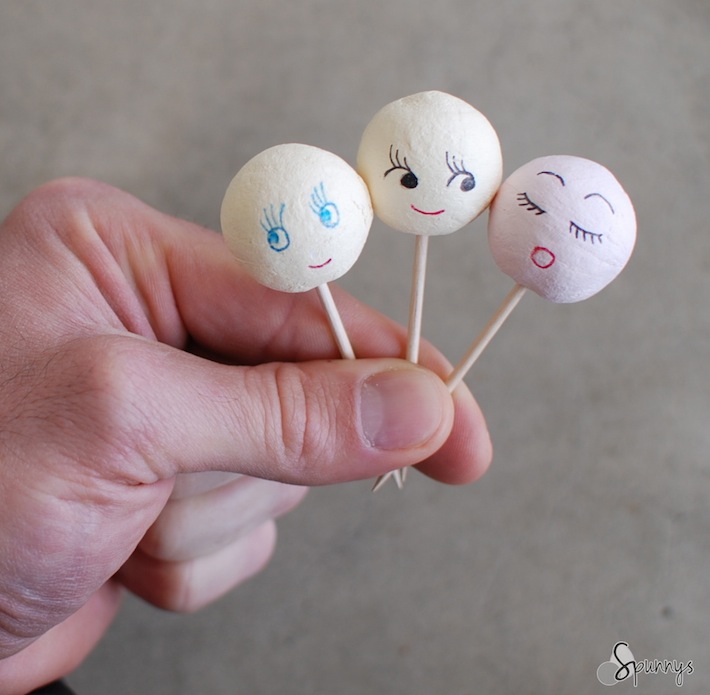
3: When dry, draw a face with a ball pen or ultra-fine marker. Use different colors.
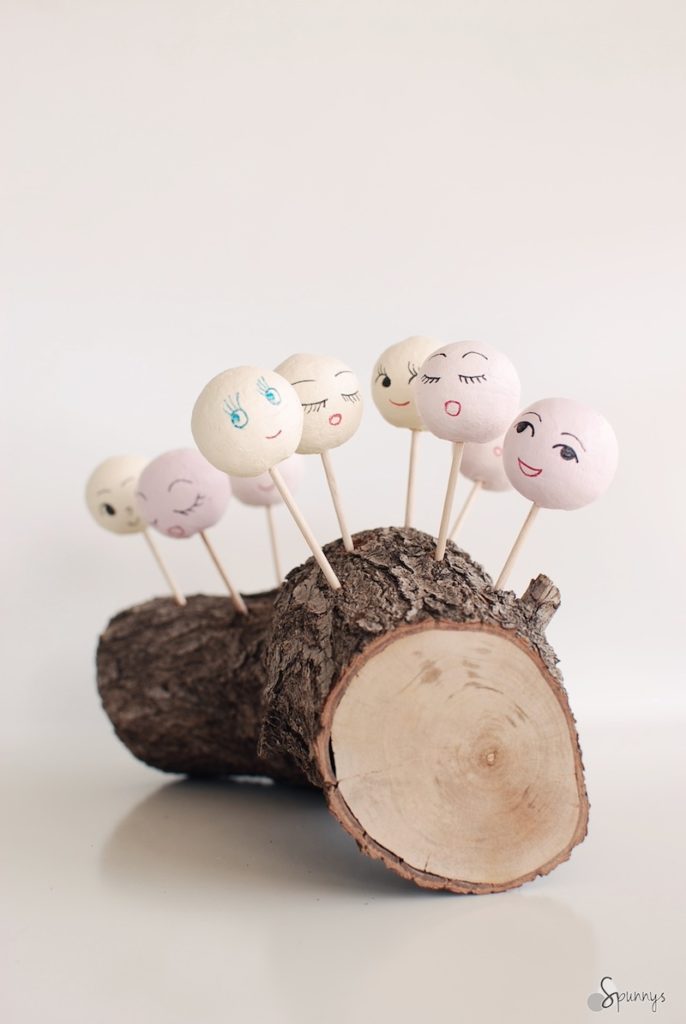
Facial Expressions to choose from
You are done :)
Things you can do with your vintage doll heads:
You can use your beautiful vintage inspired doll heads many different ways:
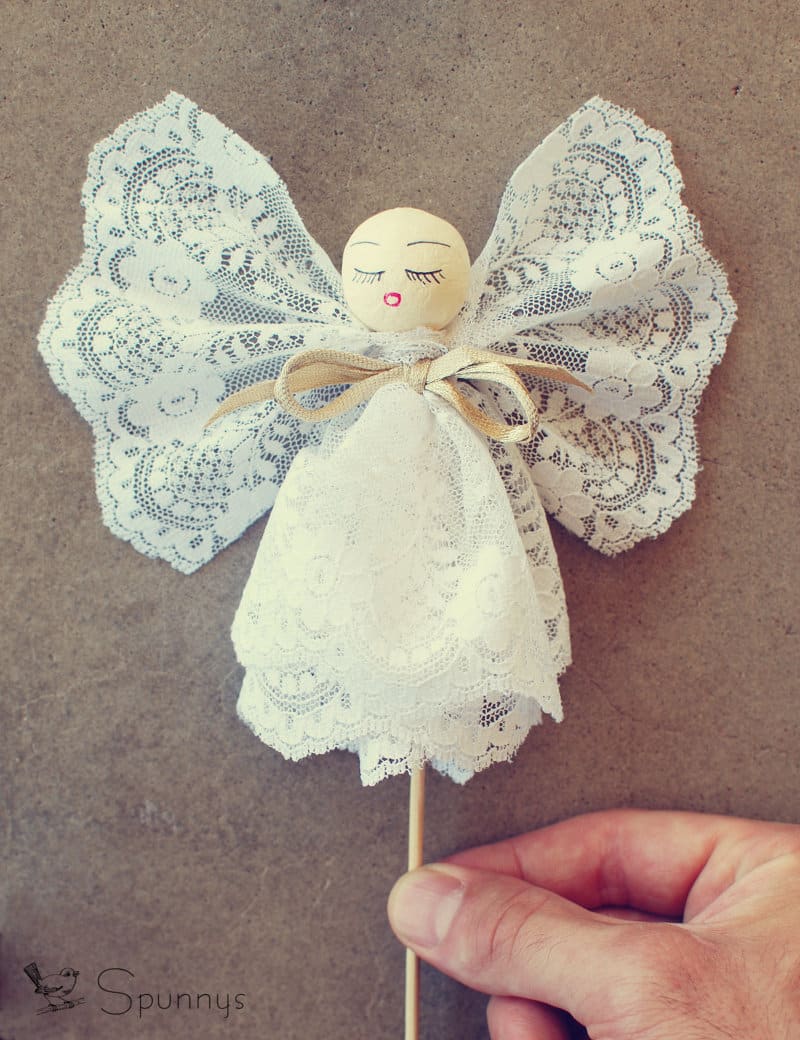
– Vintage spun cotton Christmas angel ornaments. The body can be made with lace, pipe cleaners, felt, tulle netting, crepe paper, fabric, crochet, knitting, tatting…
– Traditional spun cotton Christmas elves, santas, or snowmen ornaments.
– Retro style Chenille dolls (pipe cleaner dolls).
– Toothpick spun cotton heads or vintage party toppers.
– Japan-style vintage spun cotton ornaments…
The doll face “decal” technique
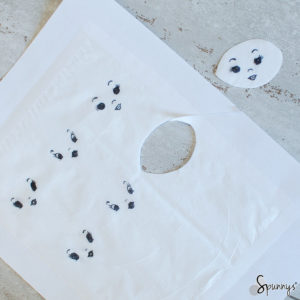
Your can make beautiful vintage spun cotton doll heads without having to draw faces by hand. To do so, you’ll just need a printer and a tissue.
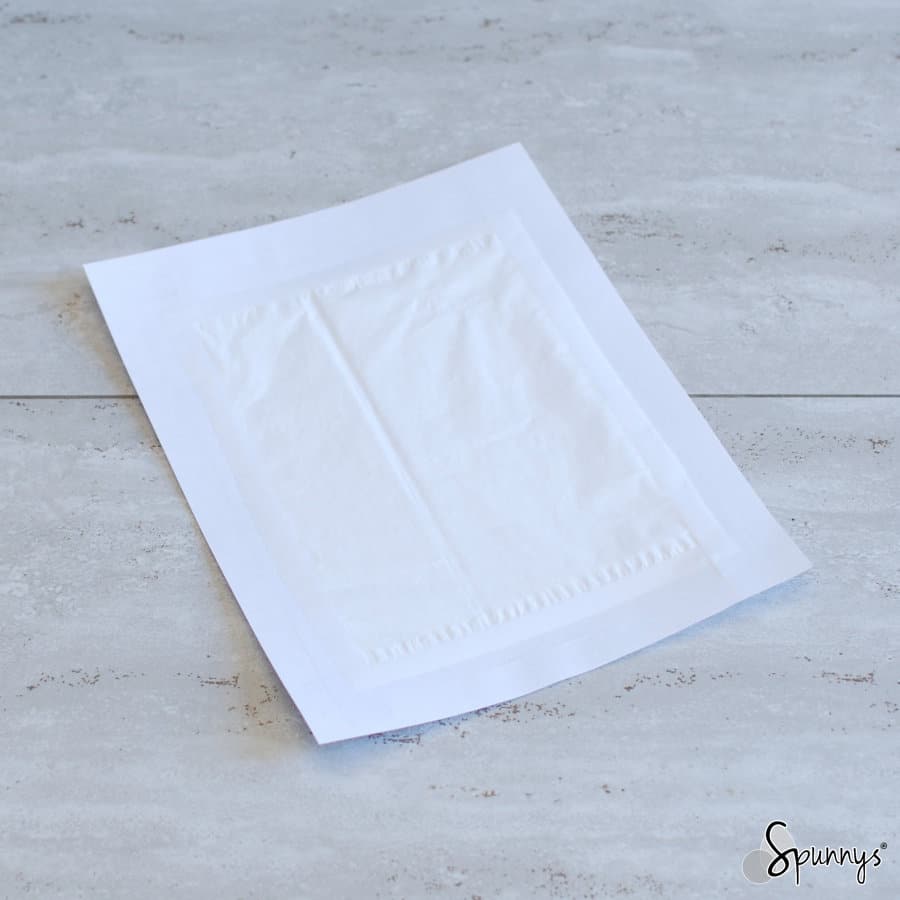
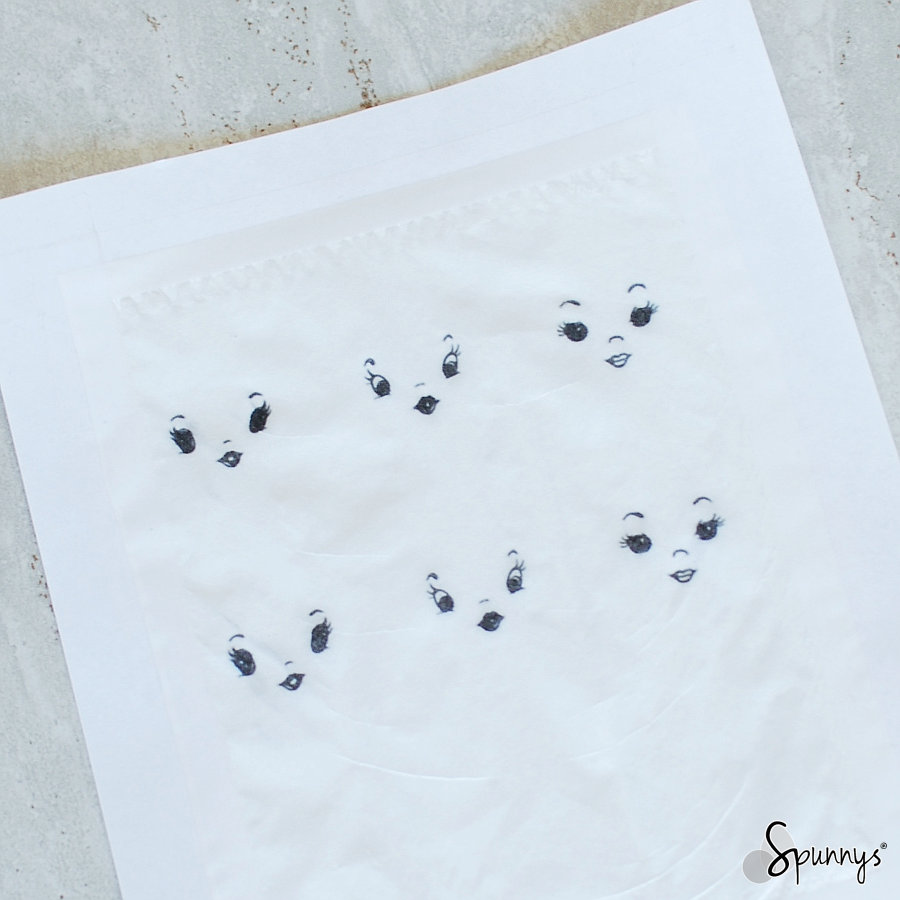
The technique is simple. Tape a tissue onto a piece of printing paper. You may have to trim the tissue a little bit so that it fits within the sheet of paper. Make sure all the edges of the tissue are taped over (this is important). Search the internet for nice doll face images and print them on the sheet you just prepared as if it was a regular sheet of printing paper.
Cut around your doll face prints. Only keep the upper most ply (the one that is printed on). Discard the other ones.
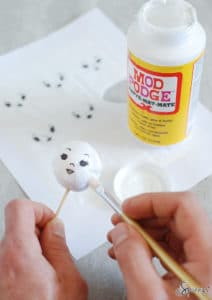
Brush some mod podge over a spun cotton ball and delicately position the face over the mod podge. Try to make as little wrinkles as possible (gently tap with your fingers).
Brush a second layer of mod podge over the edges of the tissue to remove all the last wrinkles. However, be careful not to brush directly over the ink because it may smear the ink.
Wait until the mod podge dries to a clear finish. You are done :)
I hope you enjoyed these tutorials. As always, if you have any questions, do not hesitate to leave a comment. Happy crafting!

I just love the idea for putting the face the vintage spun cotton doll head