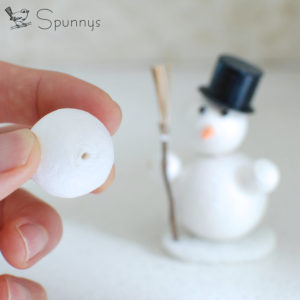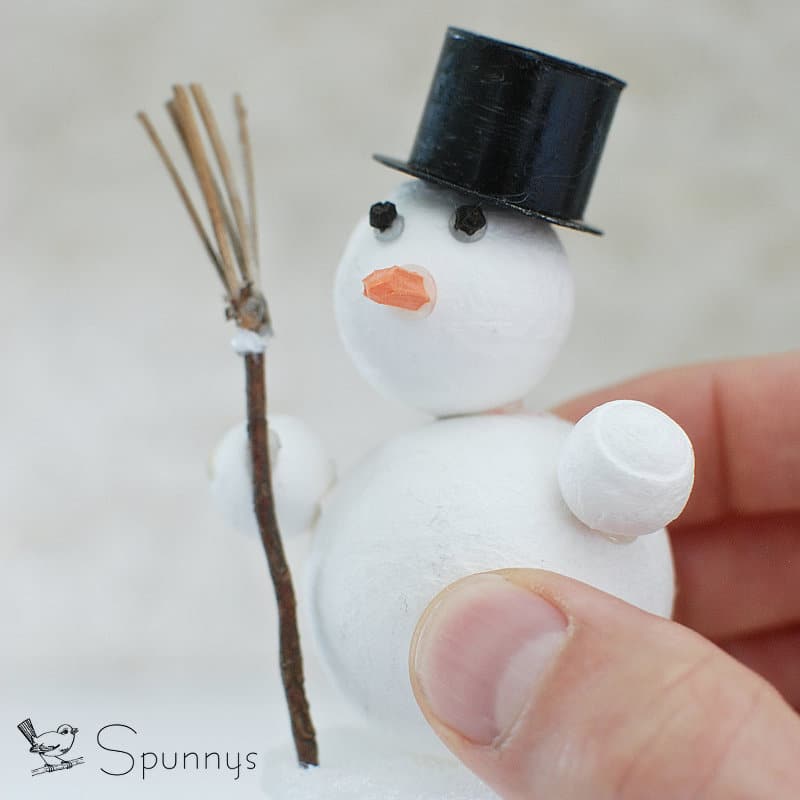
Check out our step by step tutorial and learn how you can make a snowman figurine with a few spun cotton balls.
DIY snowman figurine – materials
- One 45mm diameter spun cotton ball for the body
- One 30mm diameter ball for the head
- Two 15mm diameter balls for the hands.
- A glue gun or white tacky glue.
- A pair of scissors.
- Two black peppercorns for the eyes.
- Orange foam pad for the nose (or a piece of cardboard painted orange).
- A piece of cardboard to make a pedestal
- A wood twig and a few pine needles to make the broom.
- Optional : card stock paper and black paint to make the hat.
Step by step directions
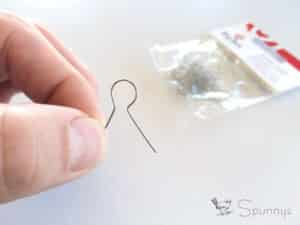
1/ Glue the head and the two hands onto the body. If you would like to hang the snowman figurine as an ornament instead of displaying it on a pedestal, make sure to have the little hole in the head pointing up. You can then insert and glue a hanging loop in this hole.
2/ Glue the peppercorns onto the snowman’s face.
3/ Cut out the nose in the piece of foam pad and glue onto the snowman figurine.
4/ Glue your snowman onto its pedestal base so it can stand up on its own.
5/ Use the glue gun to make the miniature broom by gluing together the twig and the pine needles. Glue to the snowman’s hand.
You are done :)
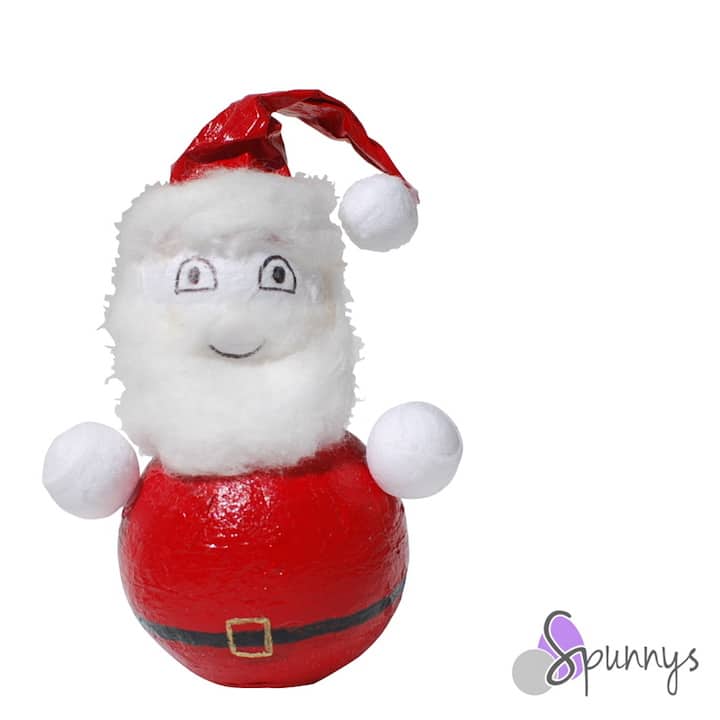
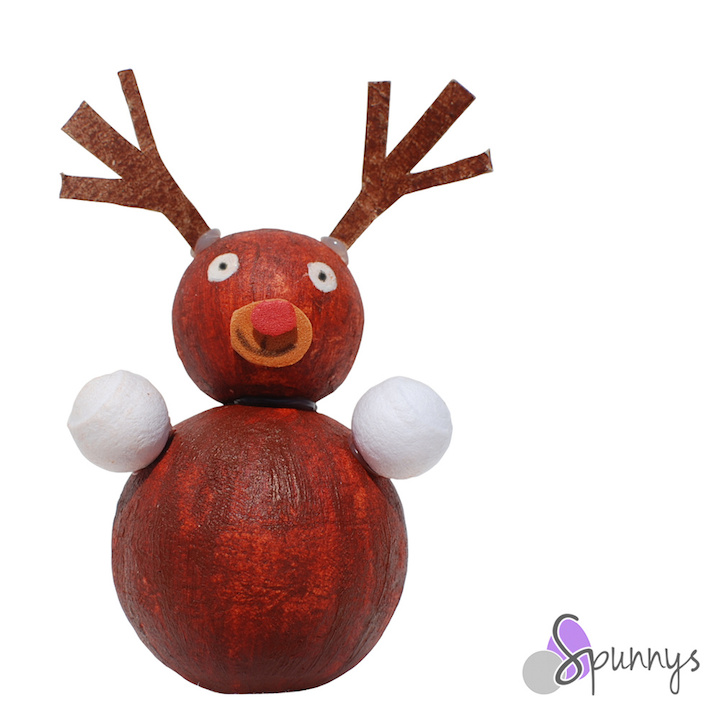
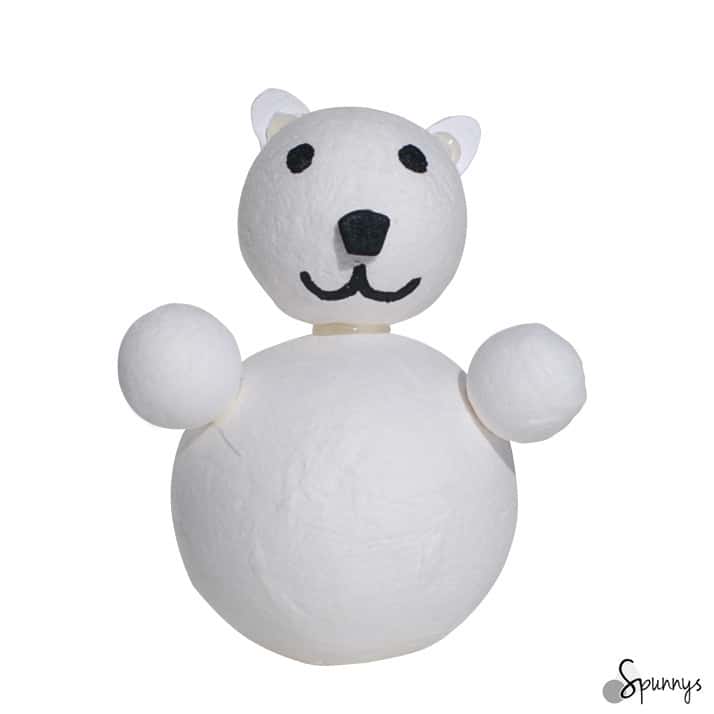
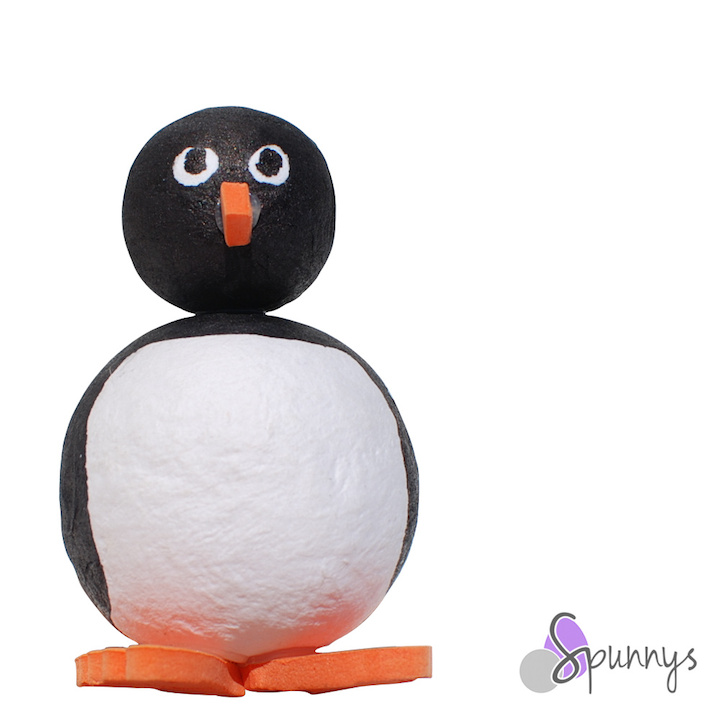
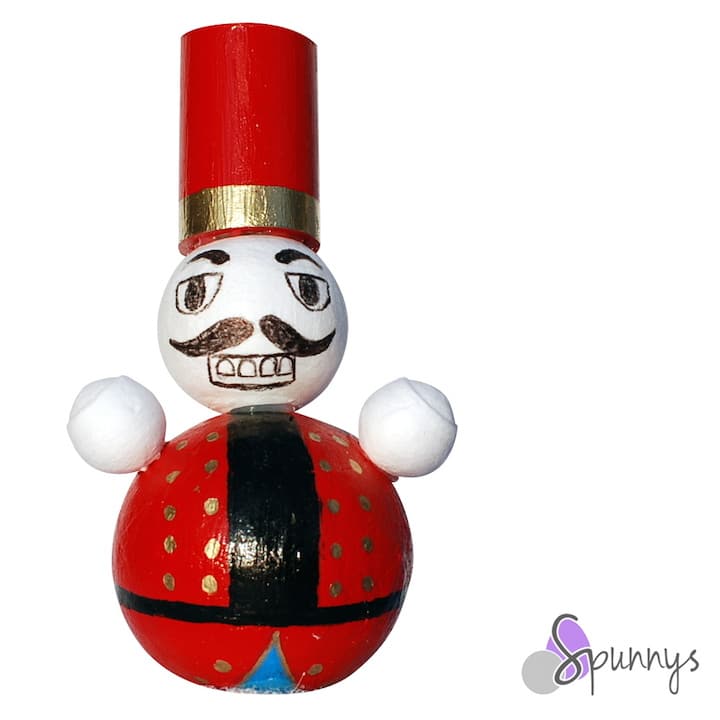
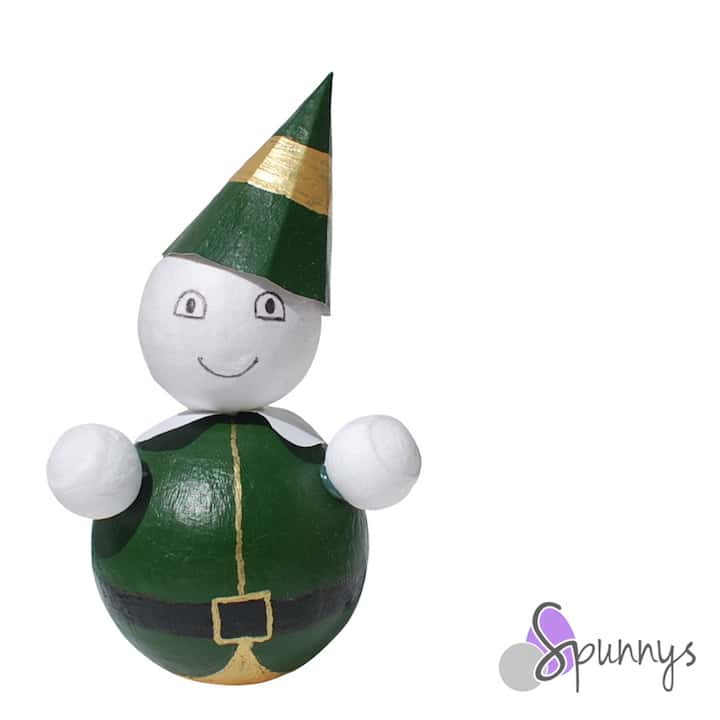
You can use the same technique to create other Christmas figurines, here are a few project ideas that you can use for inspiration.
I hope you enjoyed this simple snowman figurine tutorial. Happy crafting and as always, do not hesitate to get in touch if you have any questions!
