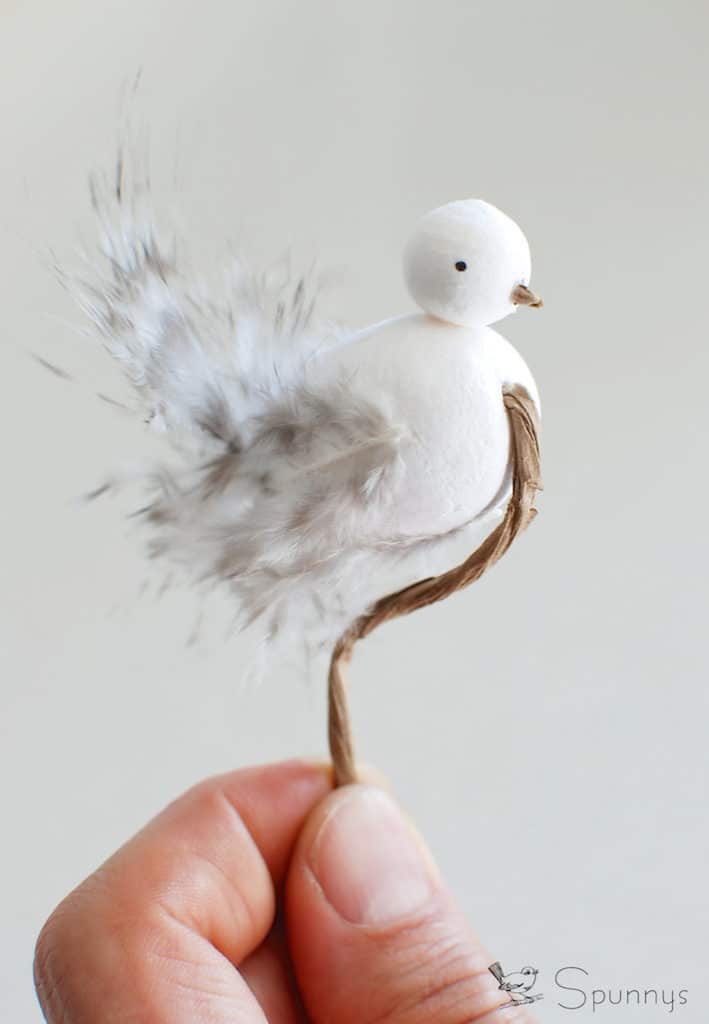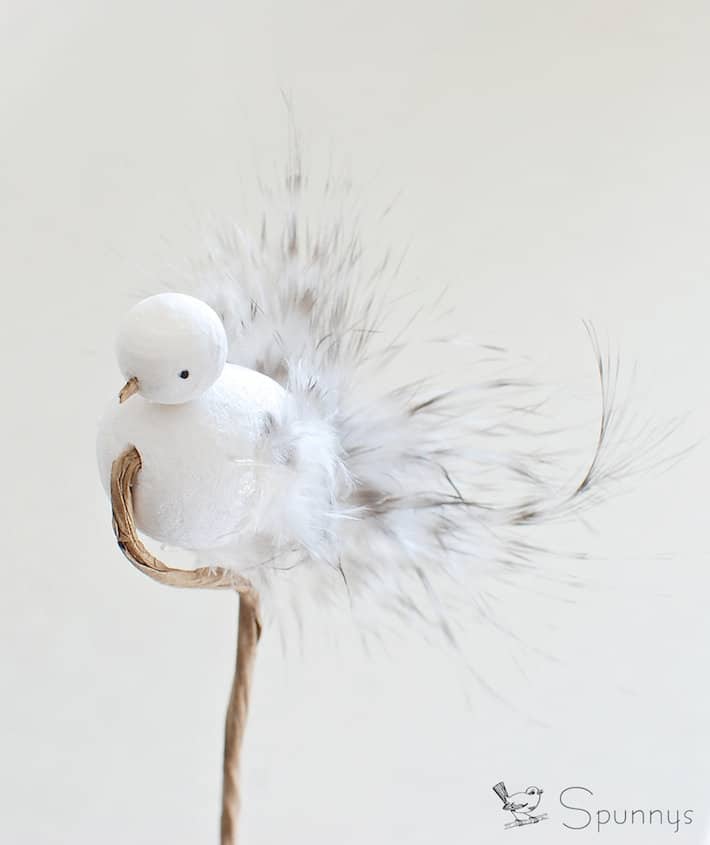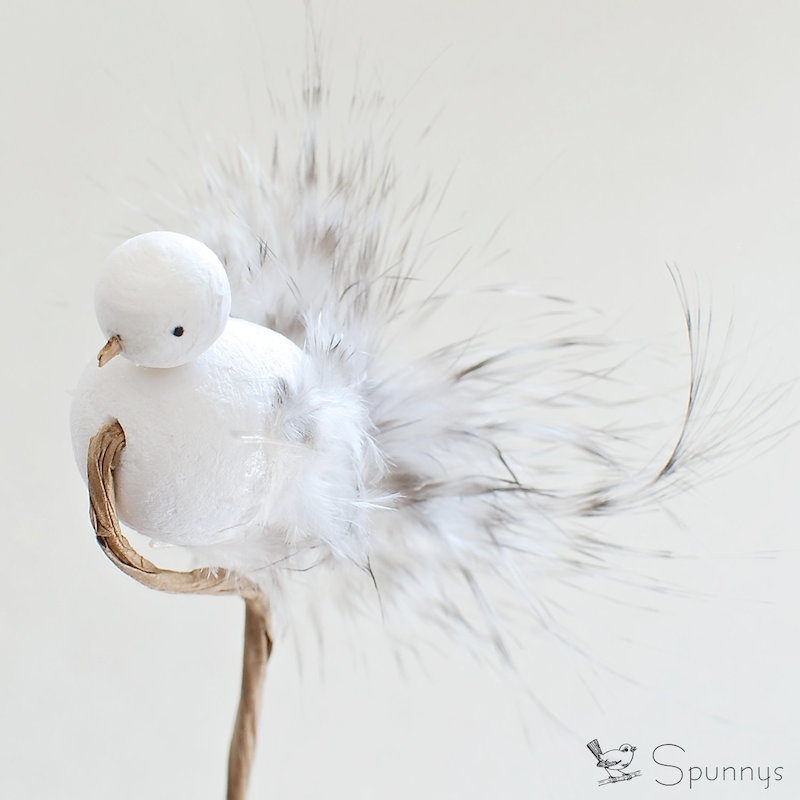
Follow our tutorial and learn how you can make beautiful bird ornaments simply by using a few feathers and a couple of spun cotton shapes. When creating this tutorial, we tried to come up with something easy, stylish, natural looking and that only requires a few materials. We hope you enjoy it.
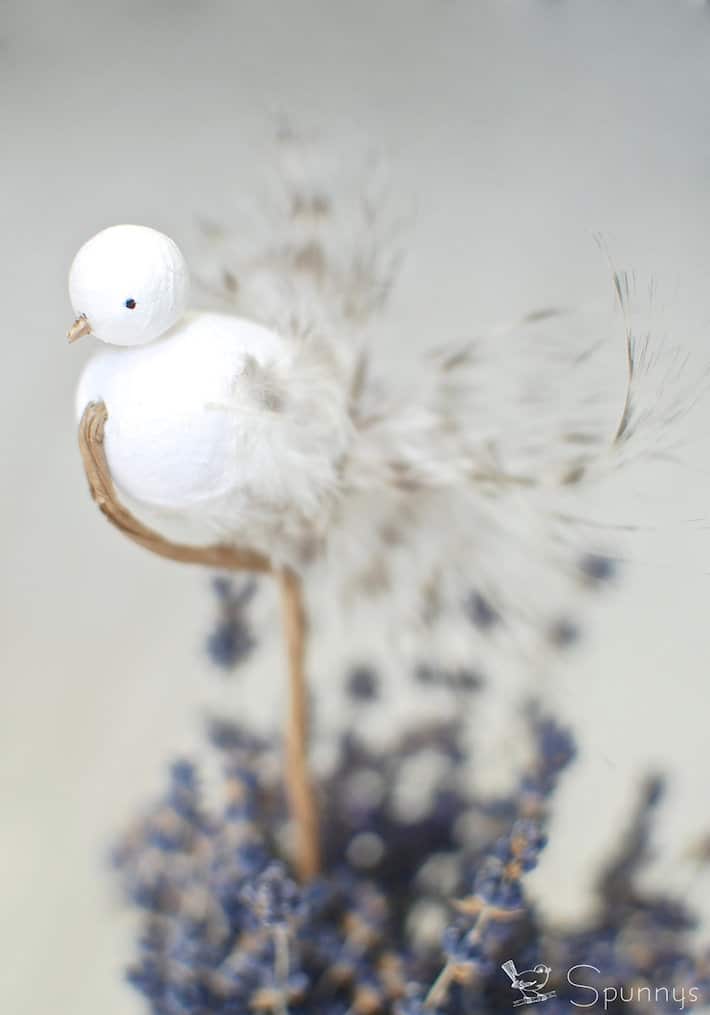
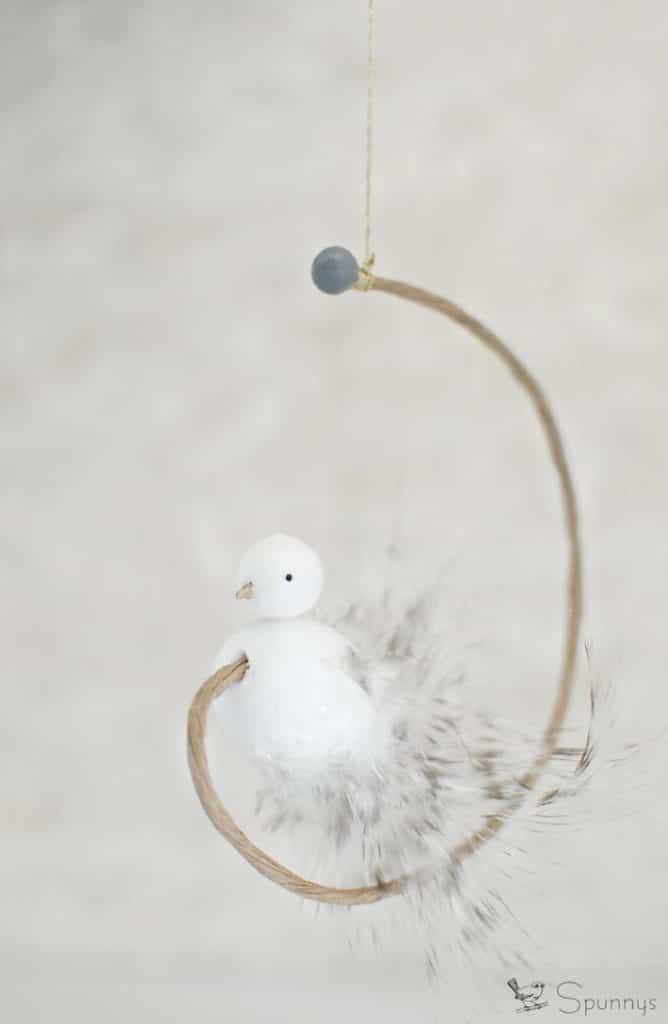
Our bird ornament is mounted on a piece of floral stem so it looks like it’s floating. You can bend the floral stem different ways (see examples below) whether you prefer to display your bird in a floral arrangement or as a hanging ornament.
Floral arrangement display Hanging ornament display
Feathered Bird Ornaments – Project materials:
- One spun cotton egg for the body. We used a 40mm egg.
Spun cotton eggs : 12, 18, 20, 25, 30, and 40mm long
- One spun cotton ball for the head. We used a 15mm ball.
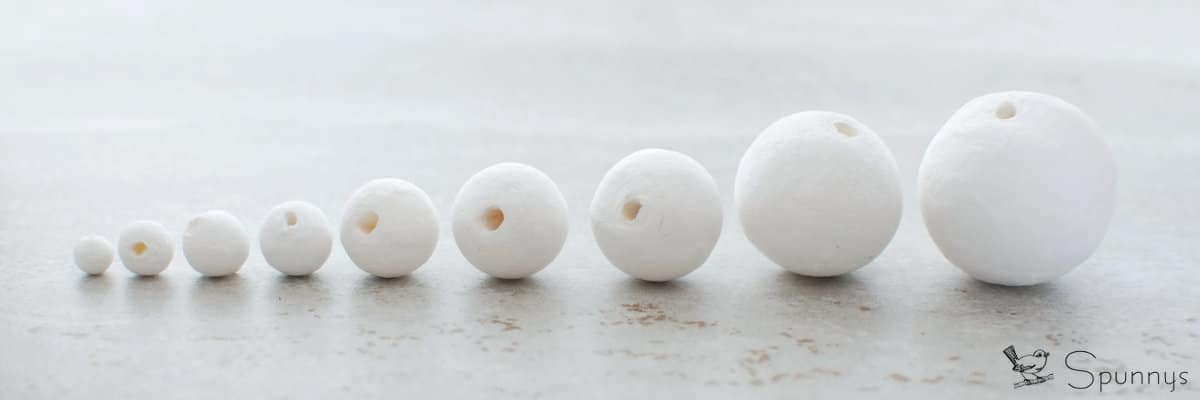
Spun cotton balls : 8, 10, 12, 15, 18, 20,25, and 30mm.
Spun cotton shapes are made of paper and can easily be glued to each other. Notice how they all have a small hole on one side.
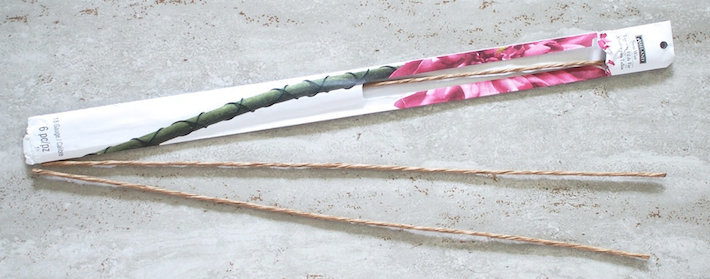
- One strand of 18 gauge paper wrapped floral stem wire.
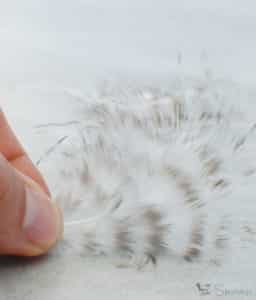
- A few feathers. We used three for this project. We wanted a bird project that makes conservative use of feathers but still looks great.
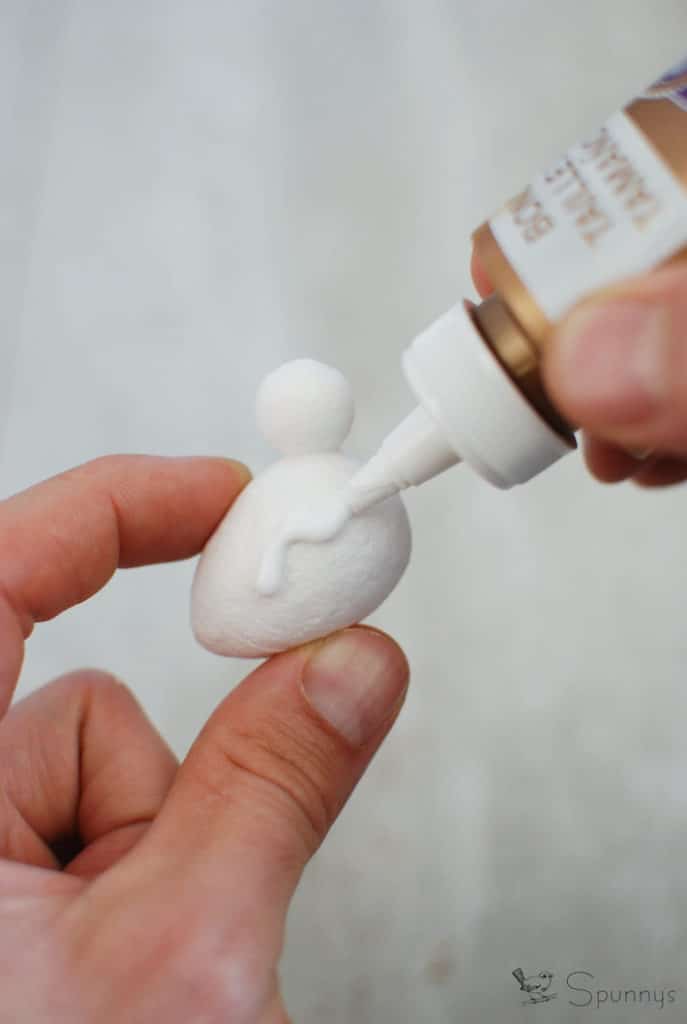
- A little bit of glue. We used regular white tacky glue. It works very well. It dries fairly fast and creates a strong bond.
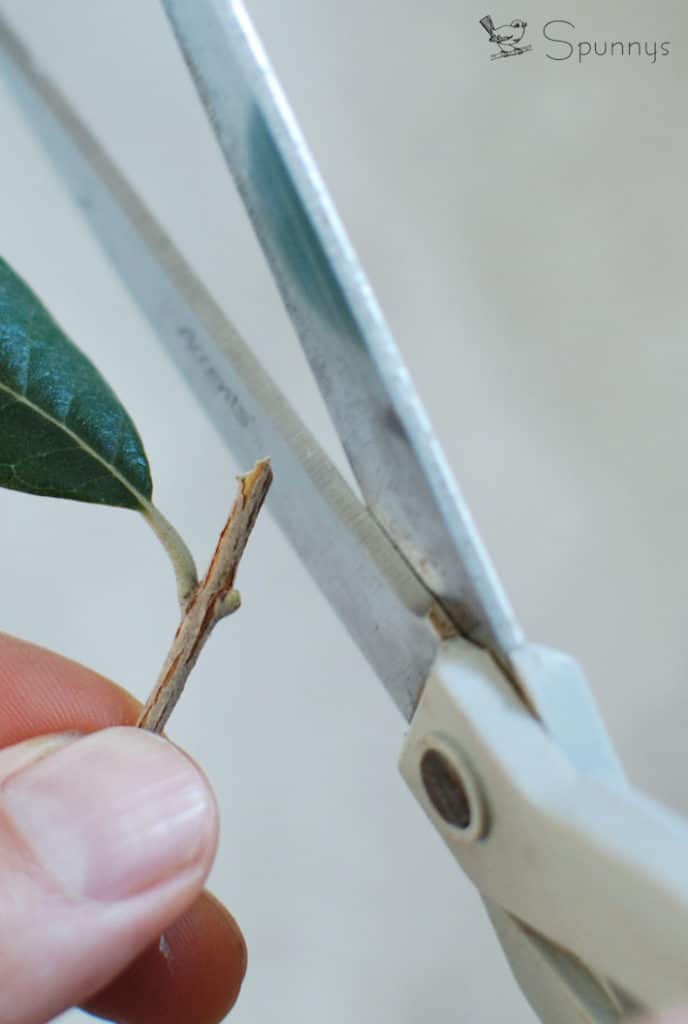
- A tiny fragment of a wood twig for the beak.
- A black marker to draw the eyes.
Step by step tutorial:
1: The body
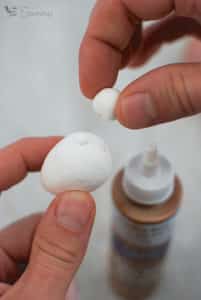
Glue together the spun cotton egg and the spun cotton ball
2: Add the feathers
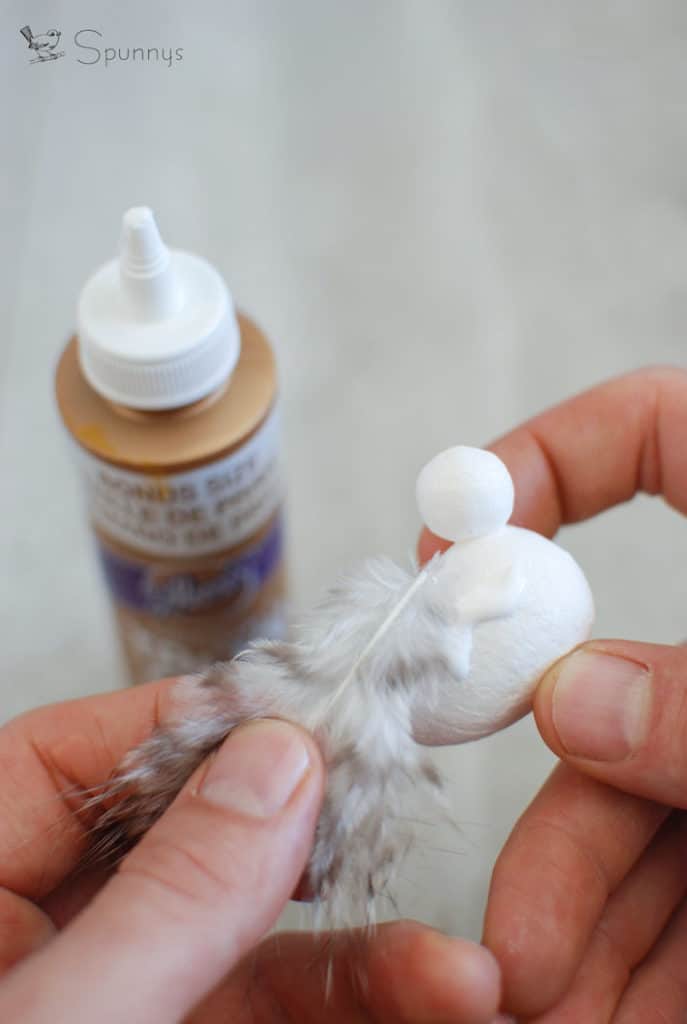
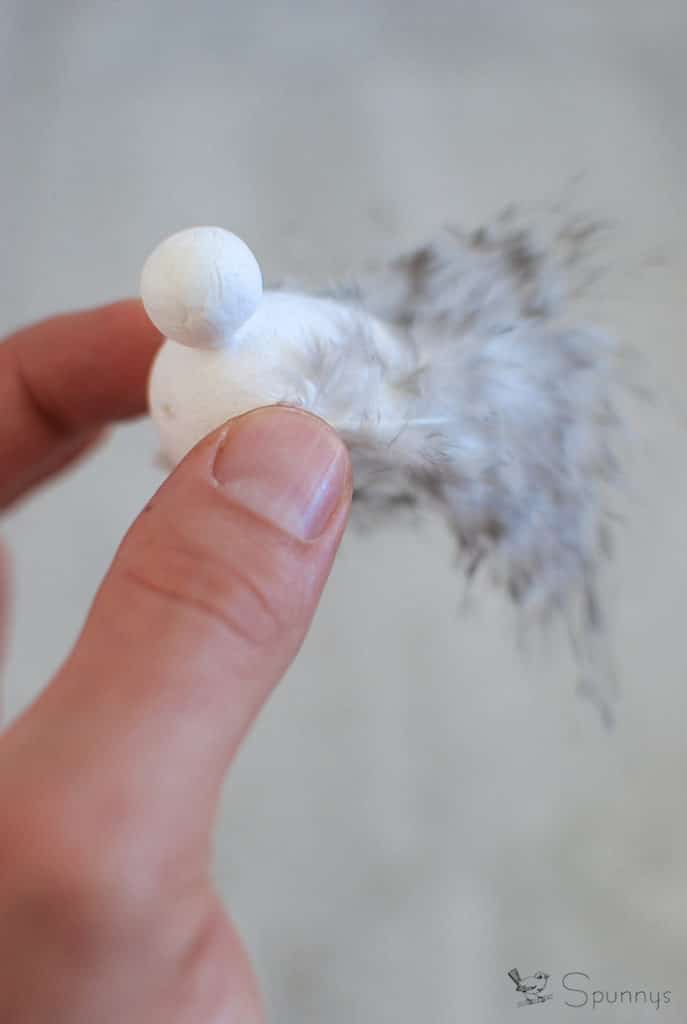
Glue the three feathers onto the spun cotton egg. One feather goes on each side and one feather goes on the bottom. Just a little bit of glue is enough to make the feathers stick.
Notice the feathers are naturally curvy. Make sure the 3 feathers all point inward, not outward.
3: Draw the eyes
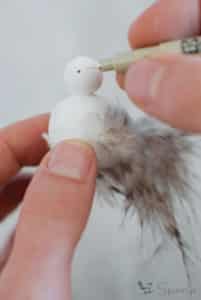
We recommend that you mark the position of the eyes with a pencil first. Make sure the pencil marks are at the same level on each side before going over them with a permanent marker.
4: The beak
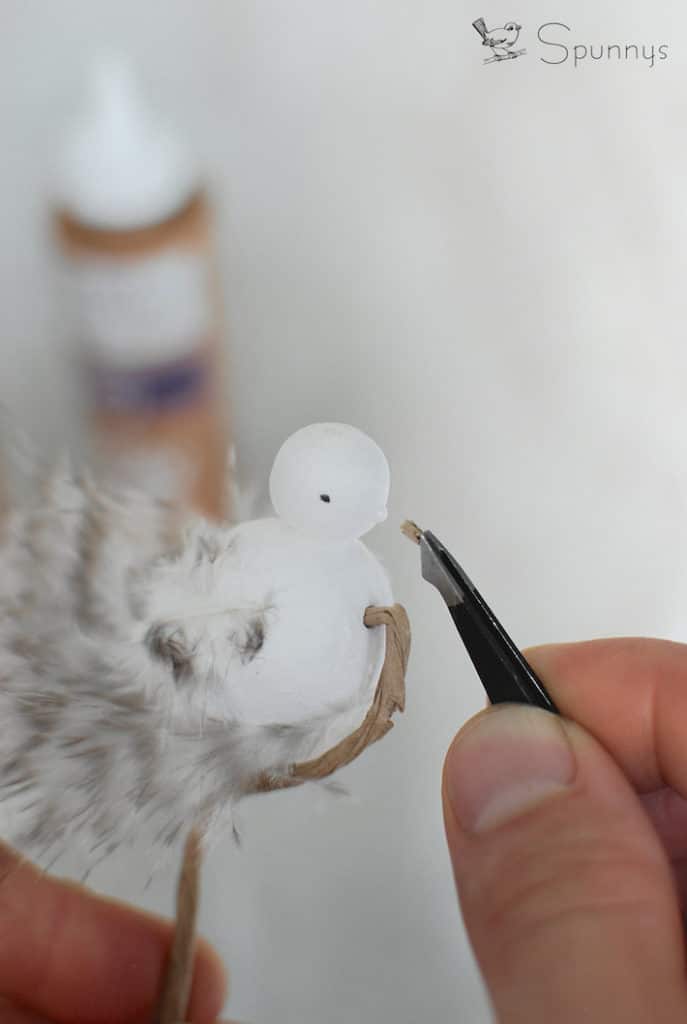
Cut the beak in a little piece of wood, such as a small twig. You can then use a pair of tweezers to glue it on. Note that there is no rule dictating how long the beak should be.
When done, finish by inserting a floral stem in the hole located in the front of the bird. You can bend the stem one of 2 ways: downward (so you can plant the stem into a vase) or upward (so you can hang the bird as an ornament). If you bend the stem upward, you can add a little 10mm spun cotton ball at the other end of the stem for style.
This is it!
We hope you enjoyed this tutorial and found some inspiration and some motivation to get started with your own DIY bird ornaments. And as always, if you have any questions or if we can help you with anything, do not hesitate to leave a comment.
NOTE: A big thank you to our talented milliner friend Shelley at Chapeaux by Shelley who sent us the feathers.
