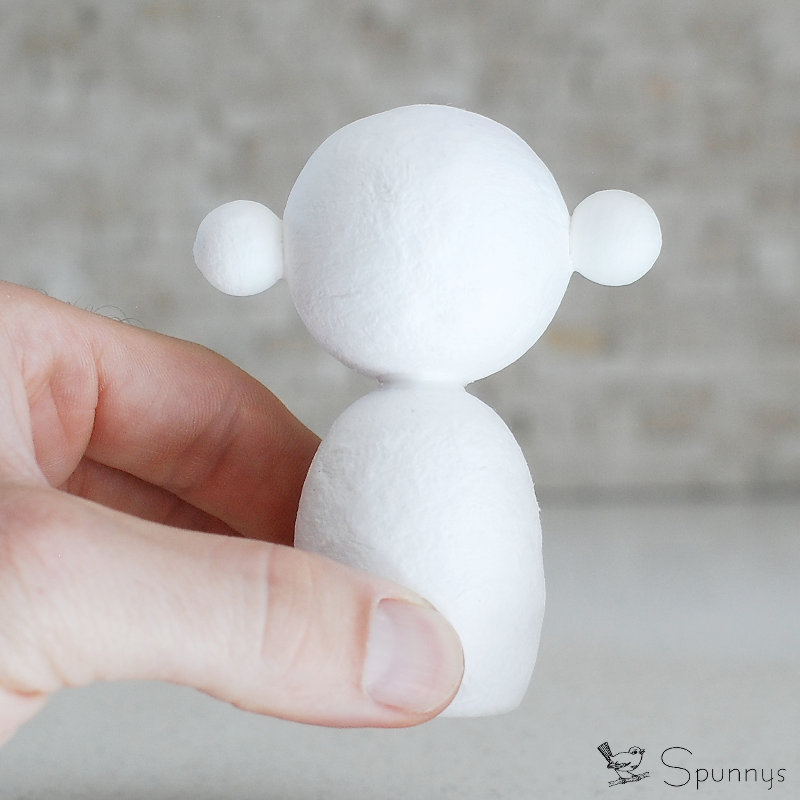
In this tutorial, learn how you can make your own blank kokeshi dolls from spun cotton shapes – a fun and creative DIY project for all ages.
Blank Kokeshi Dolls DIY – Project materials
- Glue gun or tacky glue, both work well.
- The following Spun Cotton Shapes :
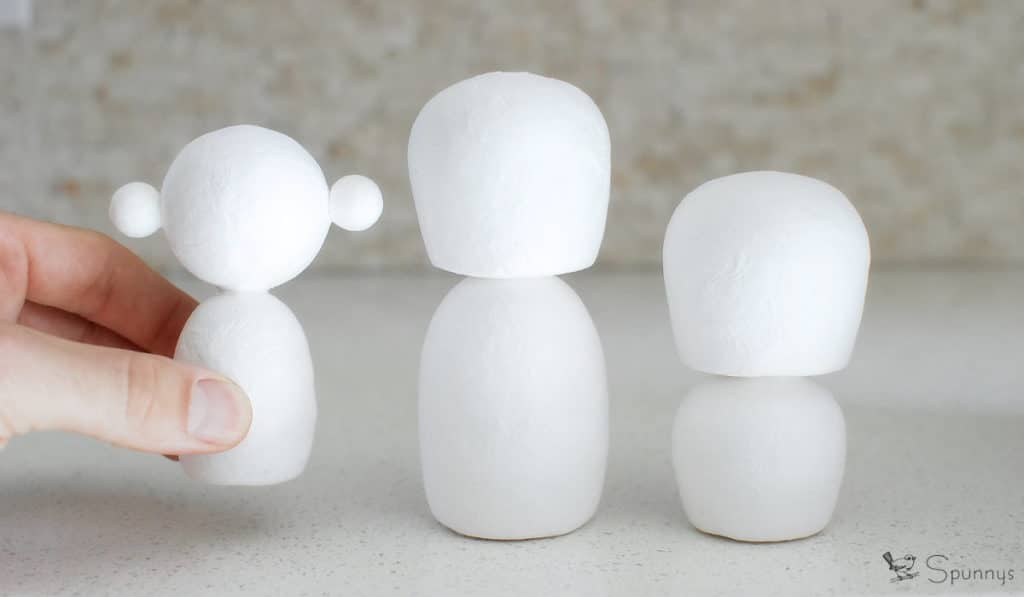
- Left Kokeshi: one Eggman Figurine Shape (Small) for the body , one ø 45 mm Spun Cotton Ball for the head, two ø 15 mm Spun Cotton Balls for the hair buns.
- Center Kokeshi: one Eggman Figurine Shape (Large) for the body, and one Figurine Torso Shape (Large) for the head
- Right Kokeshi: one Figurine Torso Shape (Small) for the body, and one Figurine Torso Shape (Large) for the head
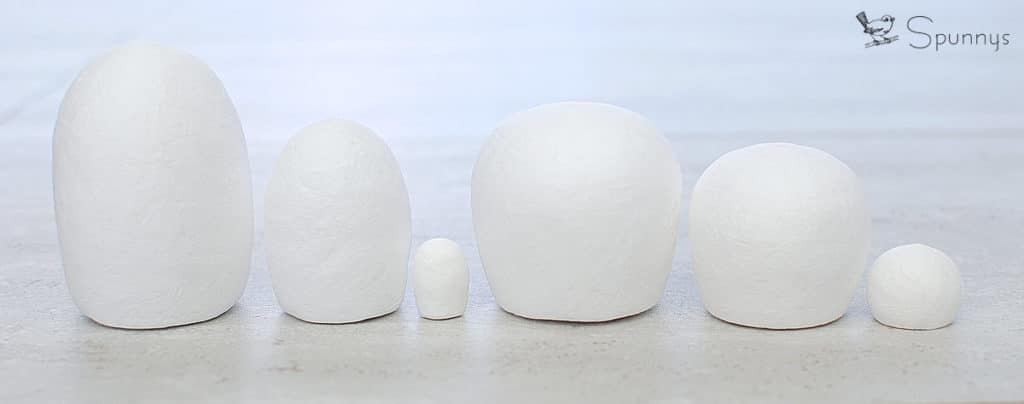
You can also create you own blank Kokeshi dolls by using different shape combinations. Below are a few shapes that you can use together. From left to right: Eggman Figurine Large, Eggman Figurine Small, Eggman Figurine miniature, Figurine Torso Large, Figurine Torso Small, ø 25mm Truncated Ball.
Step by step directions
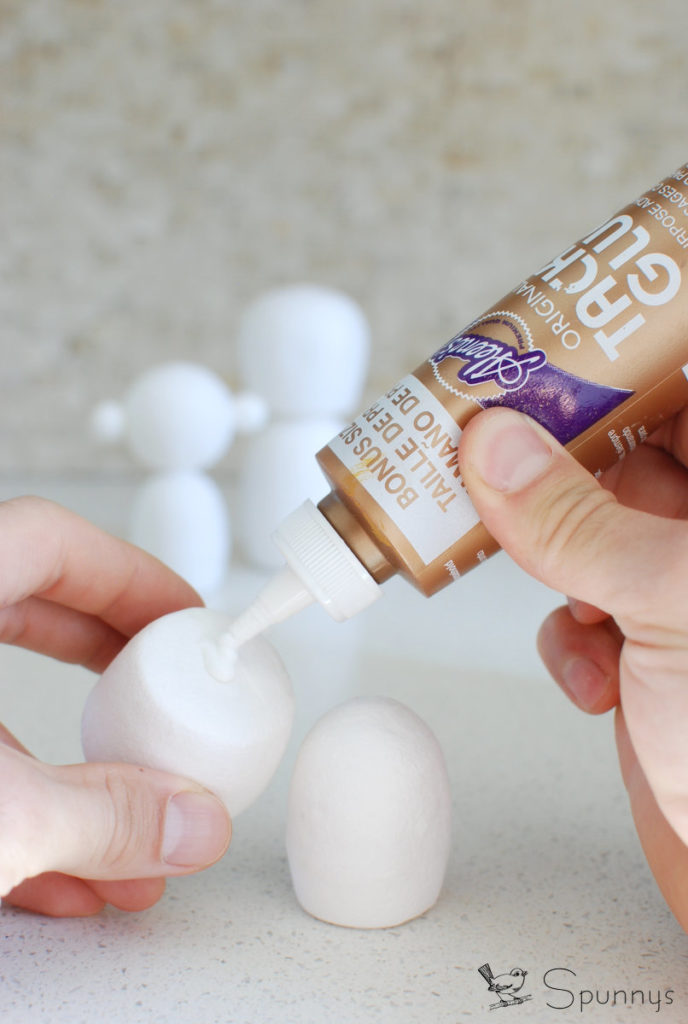
- Choose a combination of blank shapes that you like.
- Simply glue the shapes together. For a strong hold, make sure to pour glue in the little holes underneath the shapes.
- It is now time to get your paintbrushes and paint colors ready :)
Painting Suggestions.
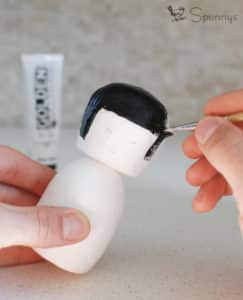
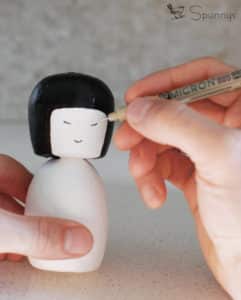
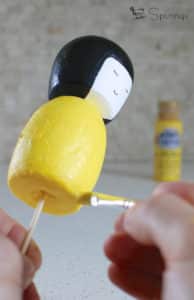
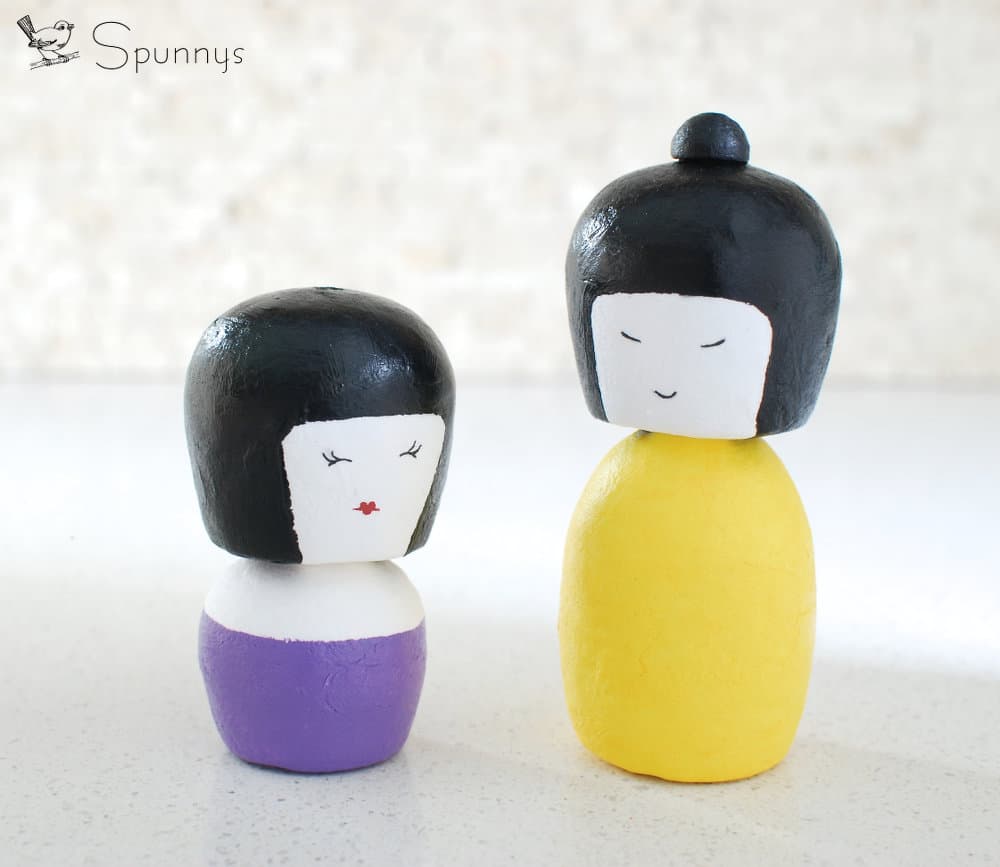
Now that you have created your Kokeshi doll bodies, it is time to grab your paintbrushes. Here are a few painting designs you can use for inspirations.
To paint the blank dolls, I like to use acrylic paint because it dries fast, and it’s easy to work with. However, any paint that works on paper will also work on spun cotton shapes. For your kokeshi dolls to look nice and shiny, you can finish them with a clear coat varnish. Mod podge for example works very well.
You can also check out our « how to paint peg dolls tutorial » for more general painting tips and advice (link).
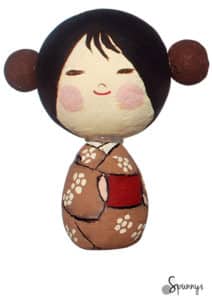
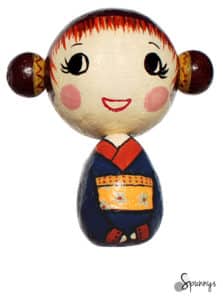
The last two Kokeshi painting suggestions are a little more elaborate. We used 40mm tall spun cotton eggs for the bodies, ø 45mm spun cotton balls for the heads, and ø 15mm spun cotton balls for the hair buns.
I hope you enjoyed this tutorial. As always, if you have any questions, feel free to comment, we are always here to help.
Happy crafting!
