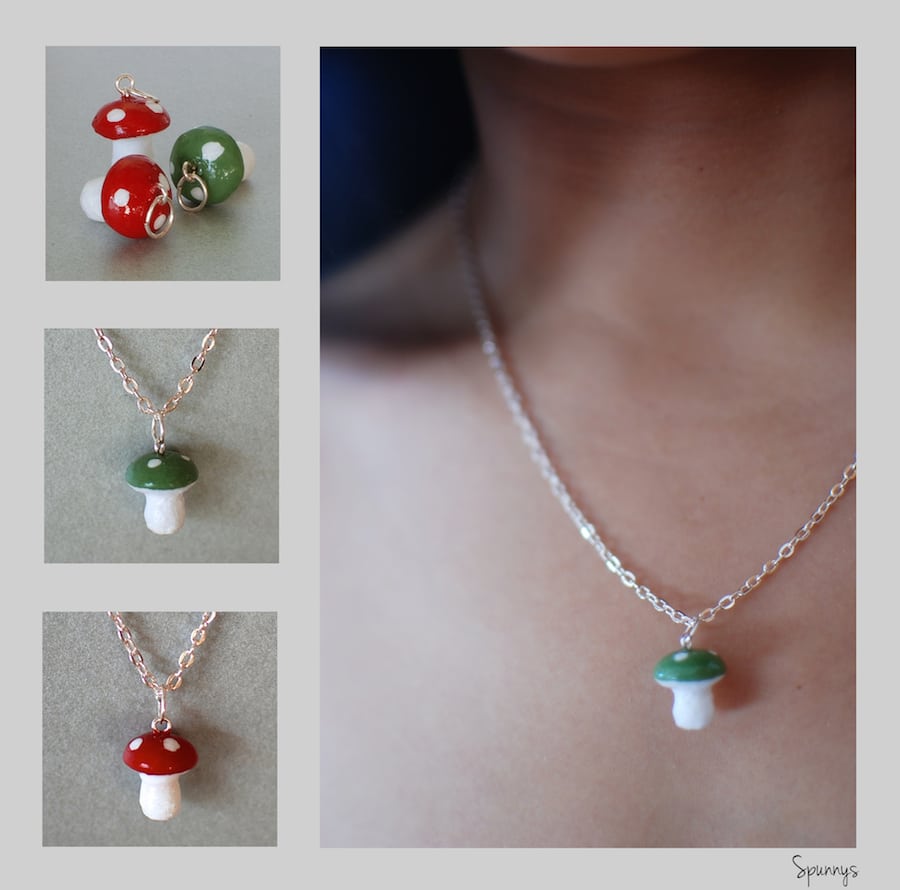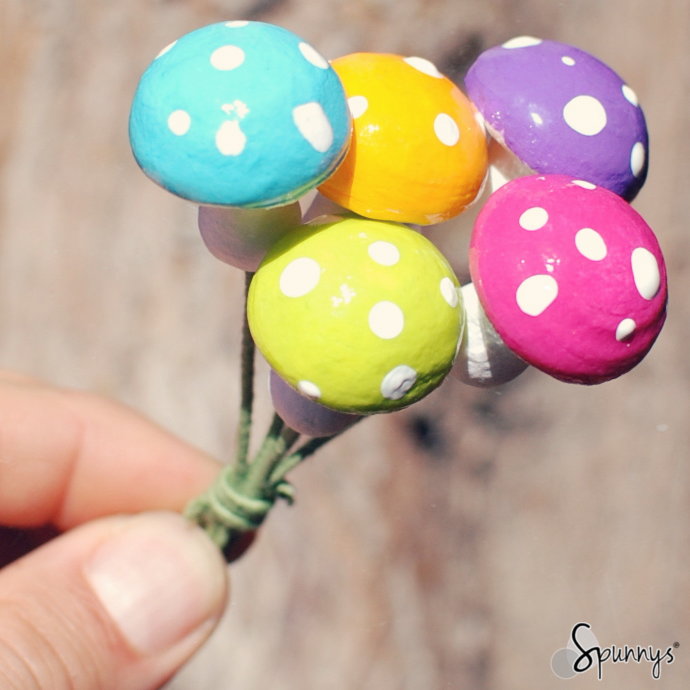
Spun cotton mushrooms (sometime referred as German spun cotton mushrooms) are colorful and cute little things. In this tutorial, you can learn how to make your own from blank spun cotton mushroom shapes.
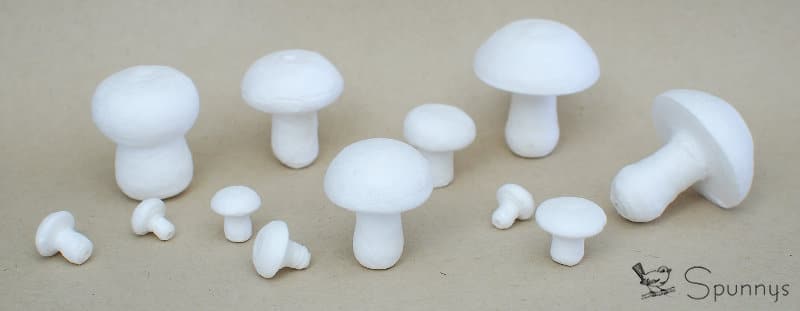
Blank spun cotton mushrooms
Project materials
- Blank (unpainted) spun cotton mushrooms. They come in many sizes. For this tutorial, I used the 25mm mushrooms. But smaller mushrooms would work too.
- Paint: pick any color you like plus some white paint for the dots. I used enamel craft paint to give them a nice vintage shine.
- A gloss finish to replicate the ‘lacquered look » of spun cotton mushrooms. I experimented with several products and found that both Liquitex gloss medium & varnish and Mod Podge super gloss worked well. TIP: Make sure the mouth of the gloss finish bottle is wide enough to dip the mushrooms in it. If not, you may have to pour some of the finish into a cup.
- Green stem wire (aka flower wire) and a pair of pliers. I used an 18 gauge wire.
- Bamboo skewers (to hold the mushrooms while you work on them, all mushrooms have a hole at the bottom).

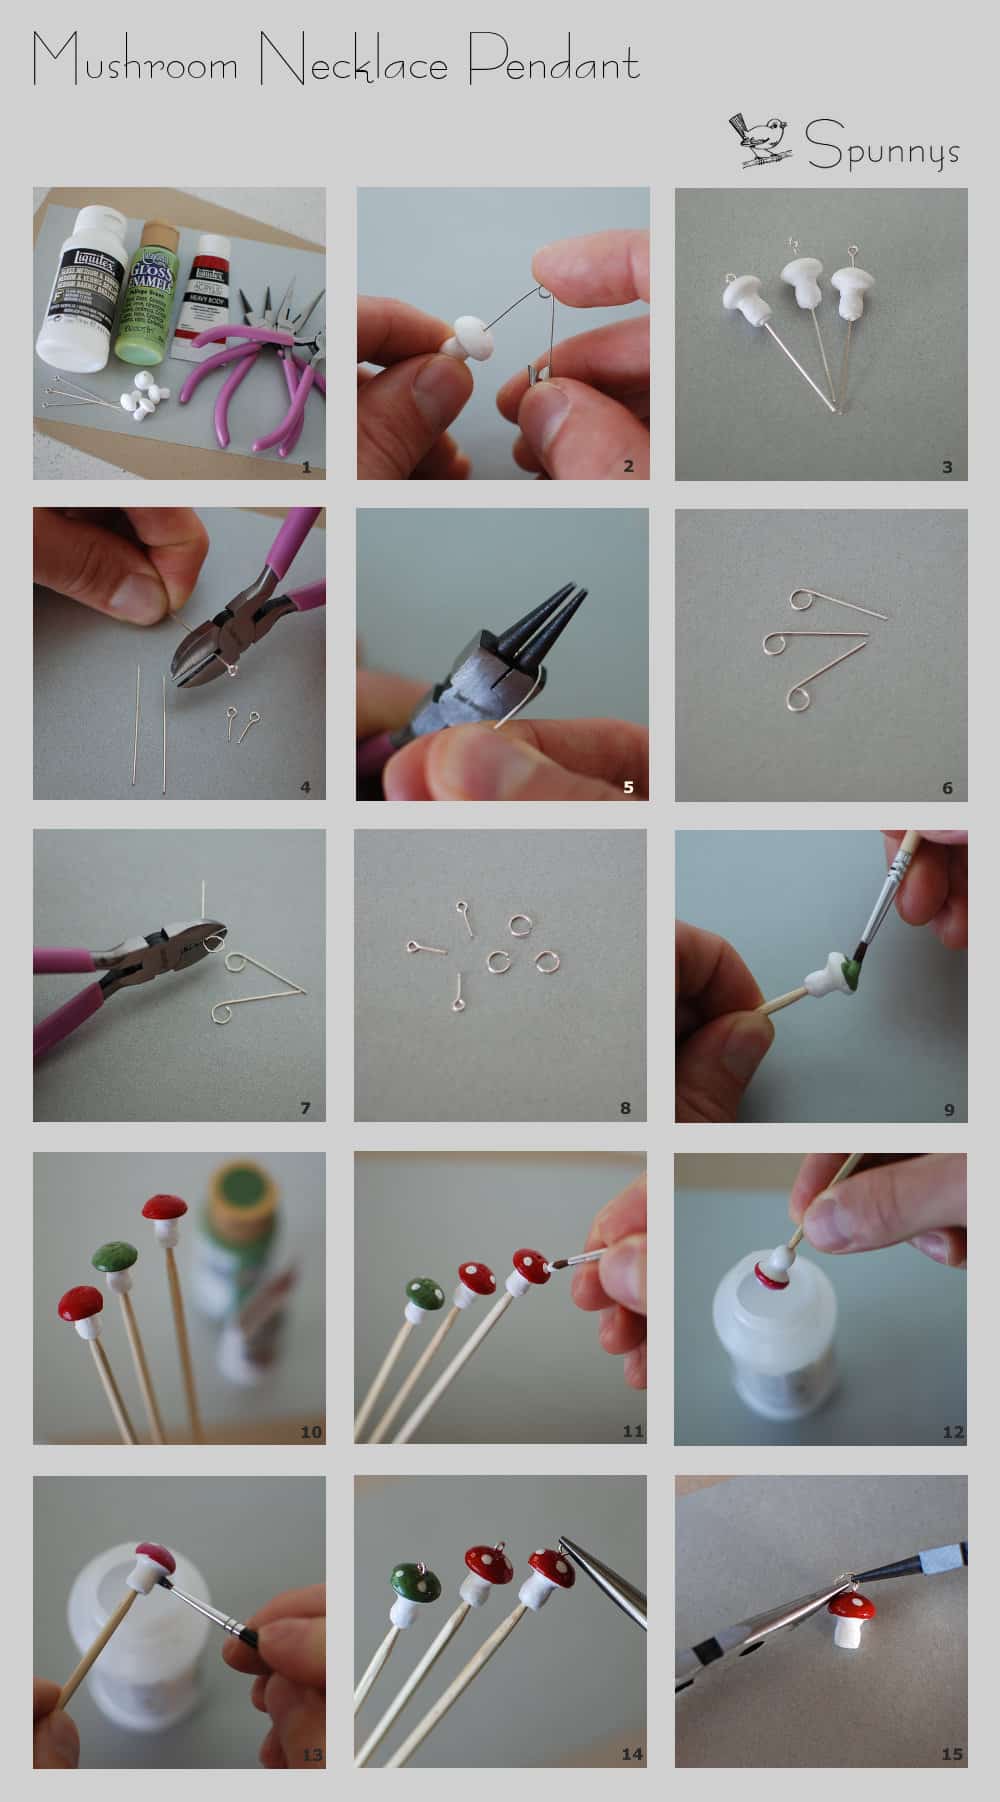
Directions
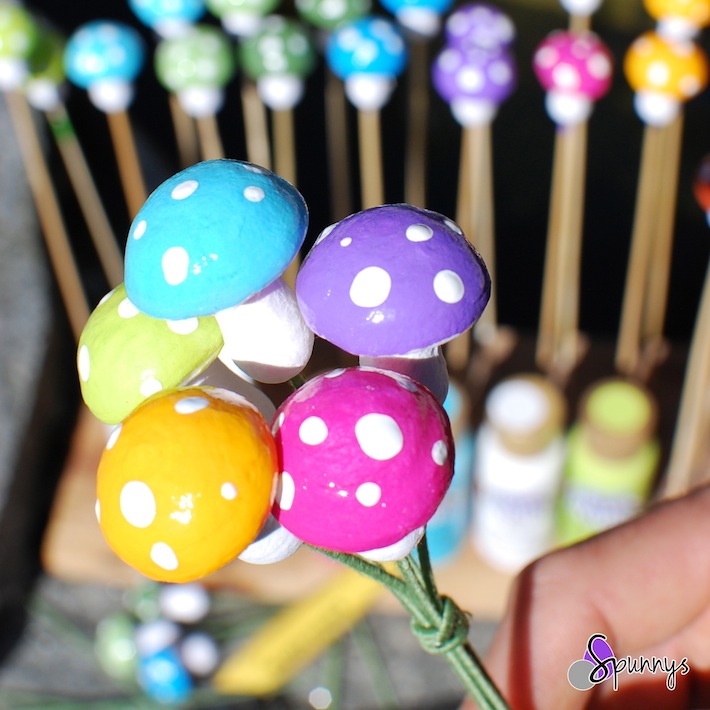
- STEP #1: Paint the mushroom caps with nice and flashy colors. Use a paintbrush, or even easier: dip in paint.
TIP 1: Use a bamboo stick to hold your mushrooms while you paint them.
TIP 2: Make sure you can rest your bamboo sticks straight up when you are done painting. You can stick them in the ground or improvise some kind of device (a wooden board with a few holes in it for example). - STEP #2: Apply the « lacquered » finish. When the caps are dry, dip the mushrooms into your gloss finish and let the excess drip back into the jar.
TIP 1: Only the caps needs to be lacquered.
TIP 2: If you get any air bubbles mixed with the glossy finish on your mushroom caps, you can make them disappear by gently poking them with the pointy end of a bamboo skewer.
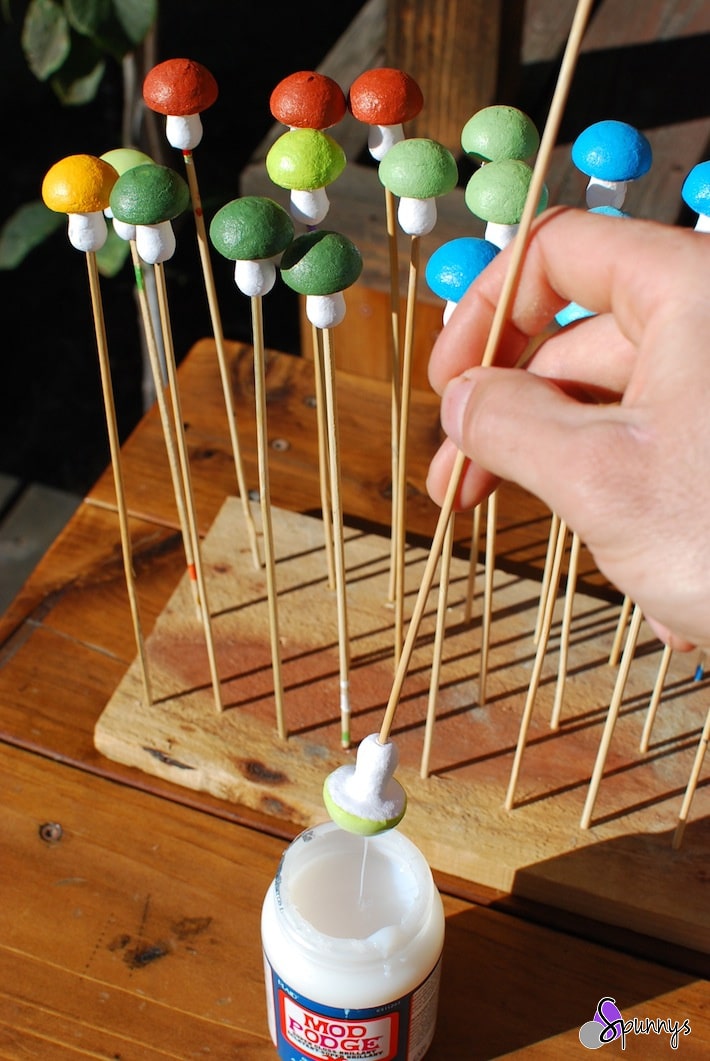
VERY IMPORTANT:
While the gloss finish hardens, make sure that the mushrooms sit as upright as possible. I used a piece of wood in which I drilled a bunch of small holes. You can also use a piece of polystyrene, a piece of foam, a piece of moss, or just stick the skewers in the ground.
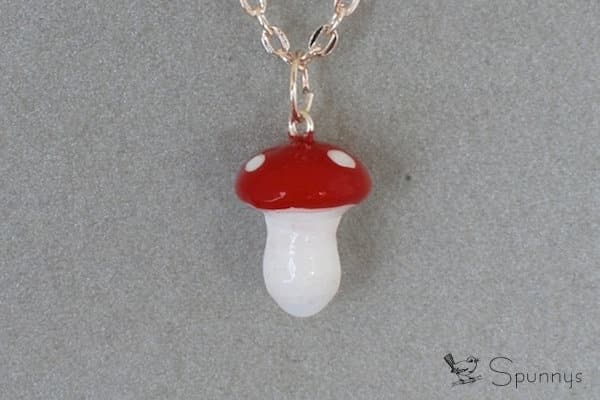
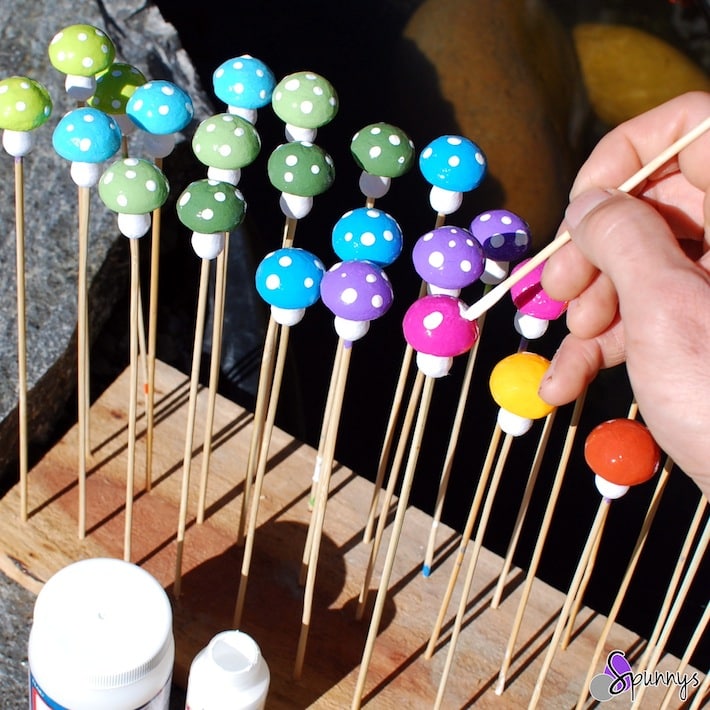
- STEP #3: When the gloss finish is hard, paint white dots on the mushroom caps
TIP 1: to make nice round dots, you can use the non pointy end of a bamboo skewer, dip it in white paint, and gently dab the paint onto the mushroom caps. If you use a brush, it will be a little harder to make round dots (but not at all impossible though).
TIP 2: I find that in the end, the mushrooms look better if I vary the size of the dots and don’t paint too many dots. Sometime simple is better.
- STEP #4: Use your pliers and cut your green stem wire into 6″ pieces. The stem wire I bought comes in 18″ long sections. So I made 3 stems with each section.
TIP: If you want to glue the stem wires to the mushrooms, use a glue gun. Hot glue adheres very well to spun cotton and it only takes a few seconds.
This is it. I hope you enjoyed this craft idea. (German) spun cotton mushrooms can be used in flower arrangements, as cake toppers, or to decorate the house. They also look great as ornaments on a Christmas tree.
If you have any questions, do not hesitate to get in touch of feel free to leave a comment. It’s always great to hear from you.