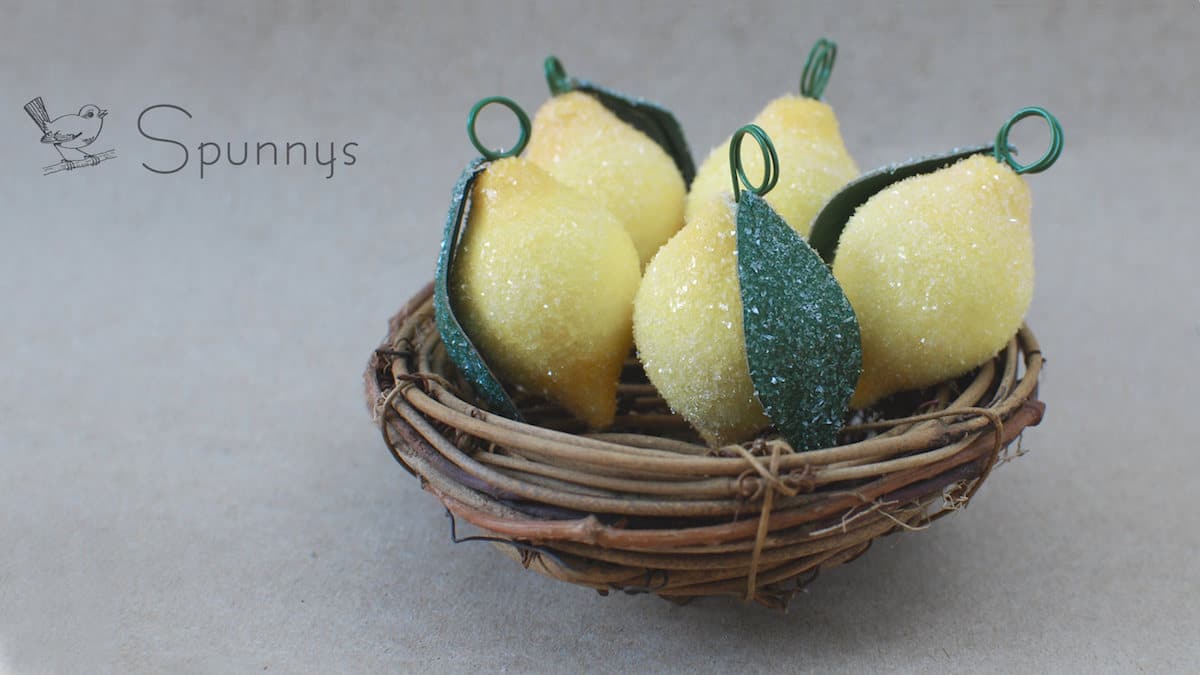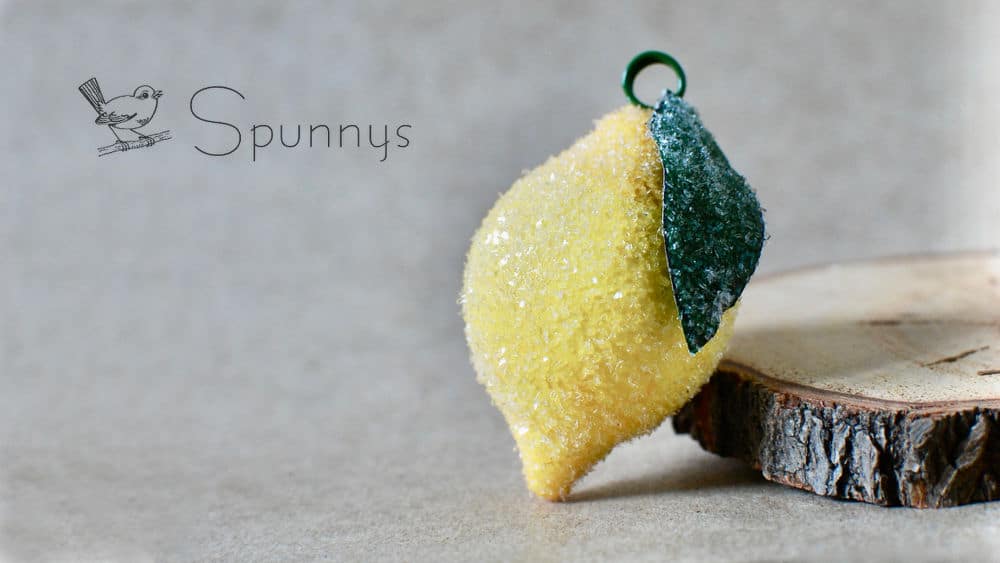
Watch our video tutorial and learn how you can make beautiful glittered lemon ornaments from SPUNNYS blank spun cotton lemon shapes. Your ornaments will have the look and feel of those prized vintage spun cotton ornaments handcrafted back in the late Victorian era.
You can use the lemon ornaments to decorate the Christmas tree but you can also hang them around the house any time of the year and add a touch of retro chic to your home.
Note that you can also purchase the finished glittered lemon ornaments from our online store if you are short on time or if you would like to make a gift to somebody. We ship all over the world and can make the glittered ornaments to order if our stock is low. Simply contact us at nicolas@spunnys.com.
List of materials
- Spun cotton lemon blanks
- Glass glitter *
- Wooden picks (bamboo skewers work great)
- Acrylic paint (yellow, and orange) and paintbrushes
- Green card stock for the leaves (you can also paint white card stock green)
- Small bowl and spoon
- Scissors and wire cutters
- Liquid white craft glue
(*) If you prefer not to use glass glitter, you can use alternatives such as glitter made with resin (PET).
Glittered lemon ornaments: step by step instructions
In addition to the video, we thought it would be useful to also provide you with written instructions, this way you can print out the tutorial and have a paper version.
Step 1 : paint the lemons
Hold the lemon blanks with a stick and paint them a solid yellow. Before the yellow paint dries, add a touch of orange at the tips. The transition from the yellow to the orange should be as smooth as possible.
Step 2: Make and paint the leaves
From the green card stock, cut out a marquise shaped leaf approximately 6 cm at the longest x 2.1 cm at the widest. Instead of using green card stock, you can also use white card stock and paint it green. This way you can create the perfect citrus leaf shade of green. Do not forget to paint both sides of the card stock green.
Use the wire cutters to snip 6cm pieces of green metal floral wire.
Glue the pieces of floral wire to the back of the leaves, make sure to let the metal overhang by 1.5 cm.
TIP: Use your paintbrush to apply the glue to the floral wire pieces. Rinse your paintbrush immediately after.
Step 3: Prepare your hanging loops
Use the wire cutters again and snip 8cm pieces of the floral wire.
Firmly wrap the pieces of wire twice around the handle of your paintbrush to create the loops. Then cross and twist both ends together about 3 to 4 times. The twisted part should be about 1.5-2cm long, cut the excess if necessary.
TIP: You can vary the diameters of your hanging loops by twisting the floral wire around the wide part or the narrow part of your paintbrush handle.
Step 4: finish your leaves
When the glue on the leaves is dry, bend the overhanging pieces of wire almost 180 degrees so you can insert them into the holes of the lemons later.
TIP: bend the wire pieces around your paintbrush for a perfect bend.
Step 5: glitter time!
Start with the leaves. With the paintbrush, generously coat the top sides of the leaves. Then, over the bowl of glitter, scoop glass glitter over the freshly glued sides of the leaves until completely coated. Finally, shake or tap off any excess glass glitter. Let dry.
Proceed exactly the same way with the lemon bodies. Remember to use a generous amount of glue.
Step 6 (final) : Attach the leaves and hanging loops to the lemon bodies
Start with the leaves. With the paintbrush, apply a generous amount of glue to the exposed portion of the floral wire. Then, directly insert into the hole.
When you are done, apply a generous amount of glue to the the twisted stem of the hanging loop. Then again, directly insert into the hole
TIP: use a twisting motion to insert the hanging loop.
Let dry and you are done!
