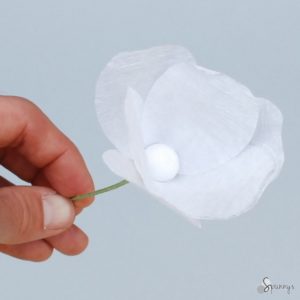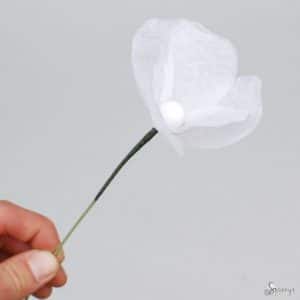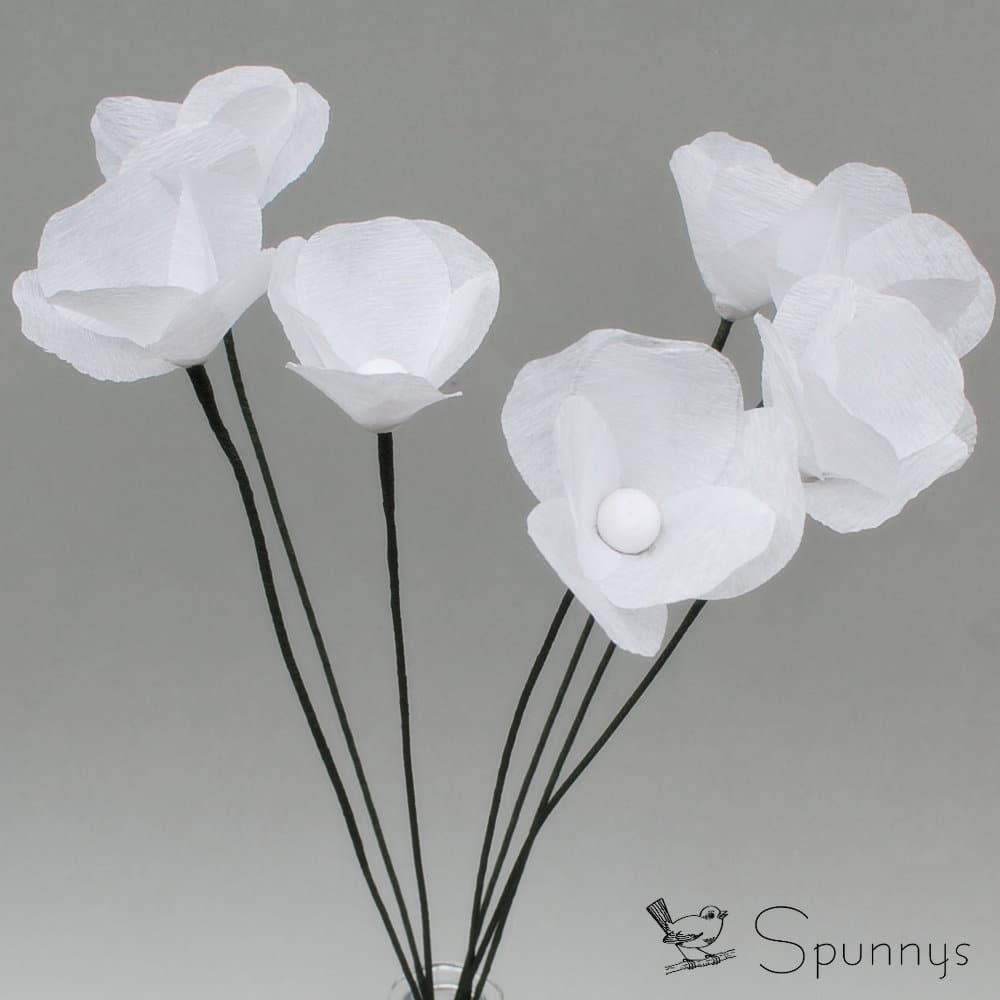
Follow our detailed tutorial and learn how you can make beautiful and elegant crepe paper flowers out of streamers. We will use poppies as example and will provide plenty of pictures to help you along the way.
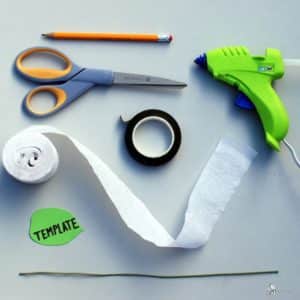
Crepe Paper Poppies – List of Materials
- Crepe paper streamers – 1 roll (1 – 3/4″ wide). You can make dozens of flowers with a single roll. I recommend white to start because glue spills don’t really show on white.
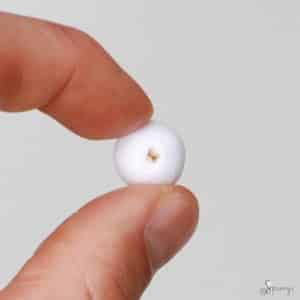
- Spun cotton balls – white – 15 mm diameter (.59 inches). 1 ball per flower.
- Sharp scissors.
- Pencil.
- Low temperature glue gun and glue sticks.
- Stem wire. The wire I used for these flowers is 18 gauge and 18″ long. I found it at Michaels.
- Floral tape.
- A small piece of cardboard to make your petal template. Or you can just print my template on regular paper and cut it out (link below).[/threecol_two_last] [divider_flat]
Directions
Note: I recommend a low temperature glue gun so you don’t burn your fingers.
Step 1: Gather all your materials.
Make sure to set up in a location where there is no air circulating (the petals fly off easily).
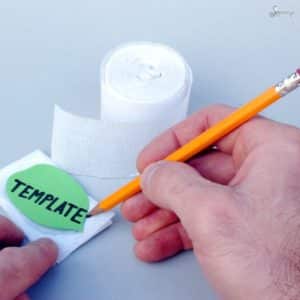
Step 2: Make one petal template for all your future crepe paper flowers
You can download the template (link below) or just copy from the picture. (It is not an exact science). My petals are 1-11/16″ wide and 1-1/2″ tall.
Click here to Download the petal template. When printing, make sure to set the scale at 100%.
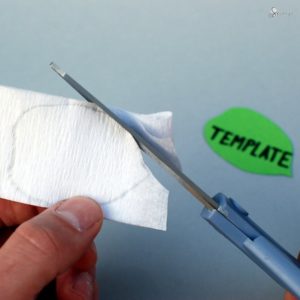
Step 3: Cut out 6 identical petals.
Fold the crepe streamer 6 times onto itself. Outline the shape of a petal on the top layer. Cut out all layers at once with a sharp pair of scissors.
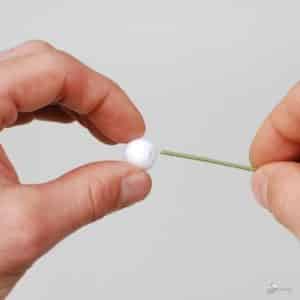
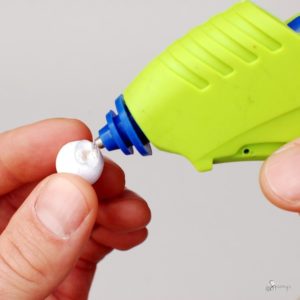
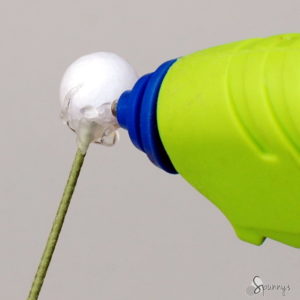
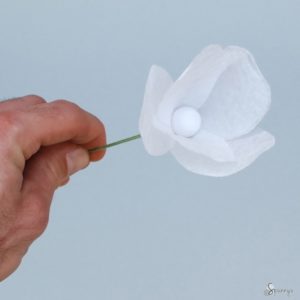
Step 4: Glue the spun cotton ball onto the stem wire.
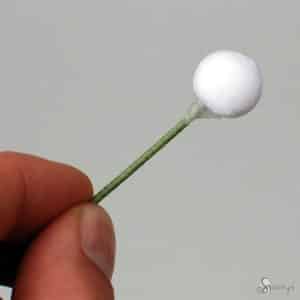
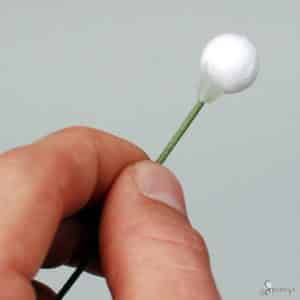
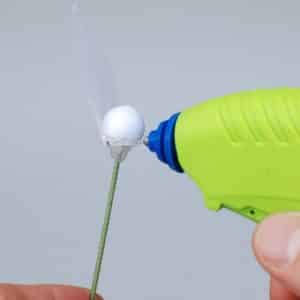
Pour a generous amount of glue over the hole and immediately insert the stem (all spun cotton balls have a little hole). Wait 5 seconds for the glue to become moldable. Quickly, shape the glue into a cone shape with your index and thumb fingers.
It is important to create a little “cone” of glue under the ball.
It will make for a nice surface to glue the petals to.
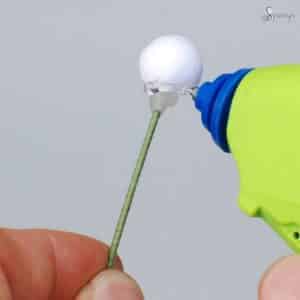
Step 5: Make the support cone a little bigger
Pour a little more glue all around the cone, wait 5 seconds for the glue to become moldable, press down with your thumb and index fingers to shape as a cone.
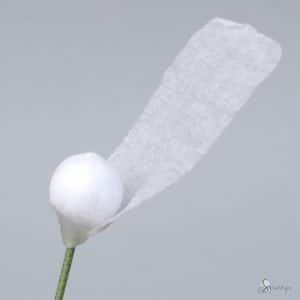
Step 6: Add petal #1.
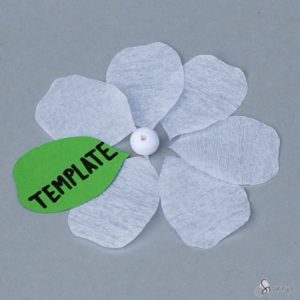
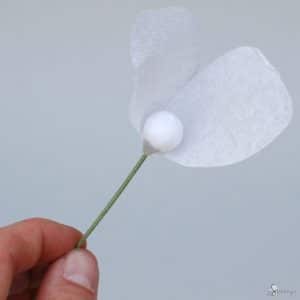
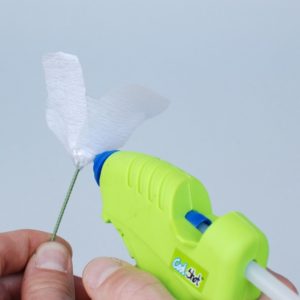
Pour a horizontal bead of glue about 3/8″ long right at the junction between the spun cotton ball and the support cone. Line up the bottom of the petal with the bottom of the cone and press the petal against the glue. The petal should cup around the ball.
Step 7: Add petal #2.
Petal #2 needs to overlap petal #1 by a little bit (about 1/3 “).
Step 8: Add petal #3.
Petal #3 should fit right between petal #1 and petal #2, overlapping them a little bit on each side. Glue into place using the same technique as for petal #1 and 2. When done, your three first petals should look evenly distributed around the ball.
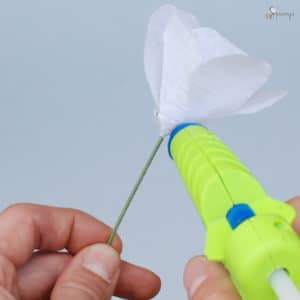
Step 9: Add petal #4.
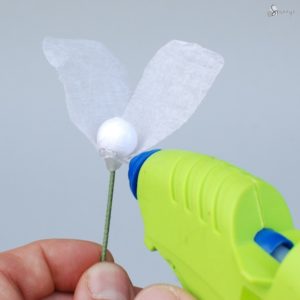
Pour a 3/4″ horizontal bead of glue across petals #1 and 3. This glue line should be a little bit higher up (maybe 1/4″) than the first 3 petals glue lines. Position petal #4. Press down against the glue. Petal #4 should cup around the ball
Step 10: Add petal #5.
Following the same technique, glue petal #5 exactly between petals #2 and 3.
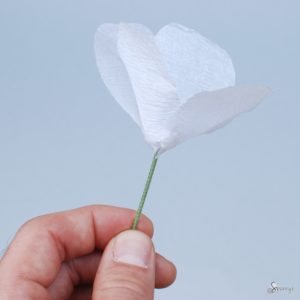
Step 11: Add petal #6.
Still with the same technique, glue petal #6 exactly between petals #3 and 1.
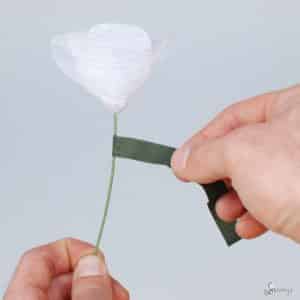
Step 12: Apply the first piece of floral tape.
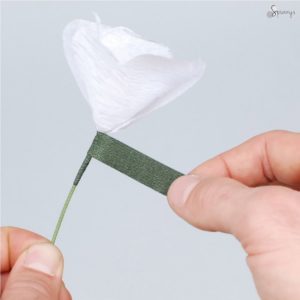
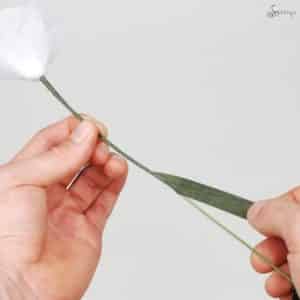
We want to give the crepe paper flower a clean look by covering the very bottom of the petals and hiding all the imperfections. Cut a 5″ long piece of tape. Start twisting the tape around the stem at about 1/2″ below the flower. Go about 2 turns. Then work your way up the stem until the tape covers the very bottom of the petals. Stay up for about 3 turns. Work your way down until you run out of tape.
Step 13: Finish wrapping up the stem with floral tape.
Cut a 16″ long piece of tape, start where you ended, and work your way down. Maintain a sharp angle and moderate tension.
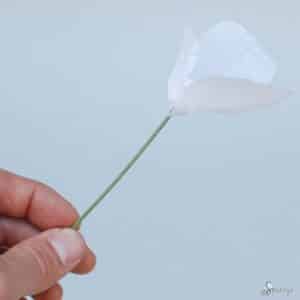
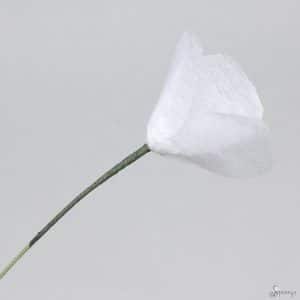
This is it
You made it!
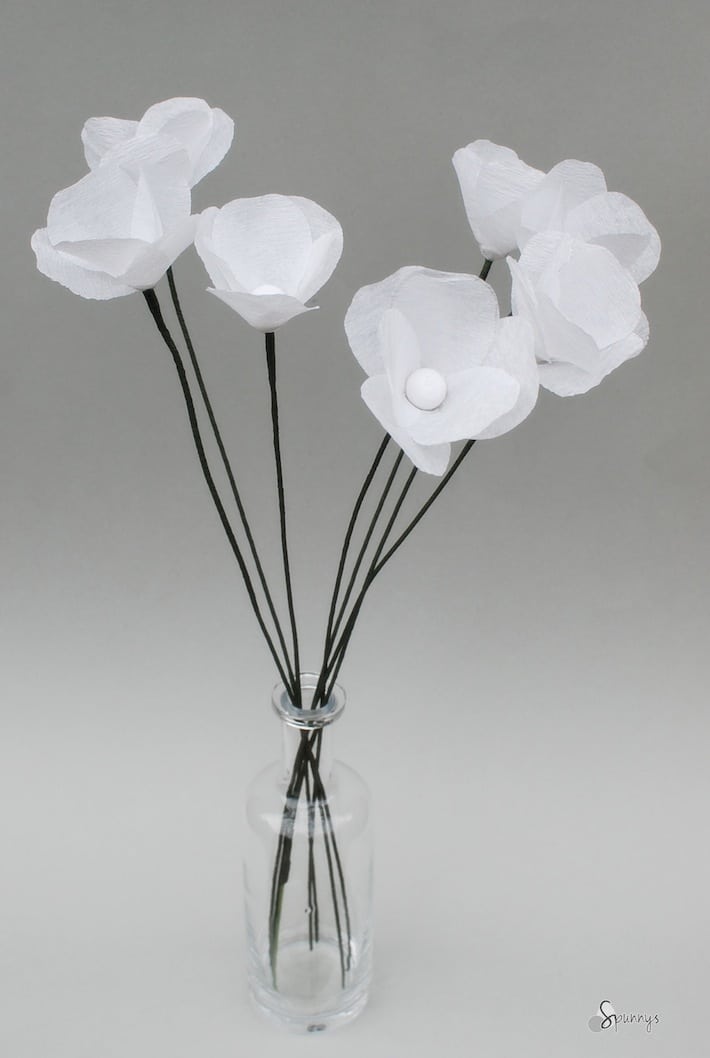
Try to make another crepe paper flower, you will be an expert in no time. For variety, you can try different color crepe paper rolls. You can also paint the spun cotton balls.
I hope you enjoyed this tutorial and found some inspiration for your next projects. As usual, do not hesitate to get in touch if you have any questions.
Crepe Paper Flowers – same technique, more project ideas:
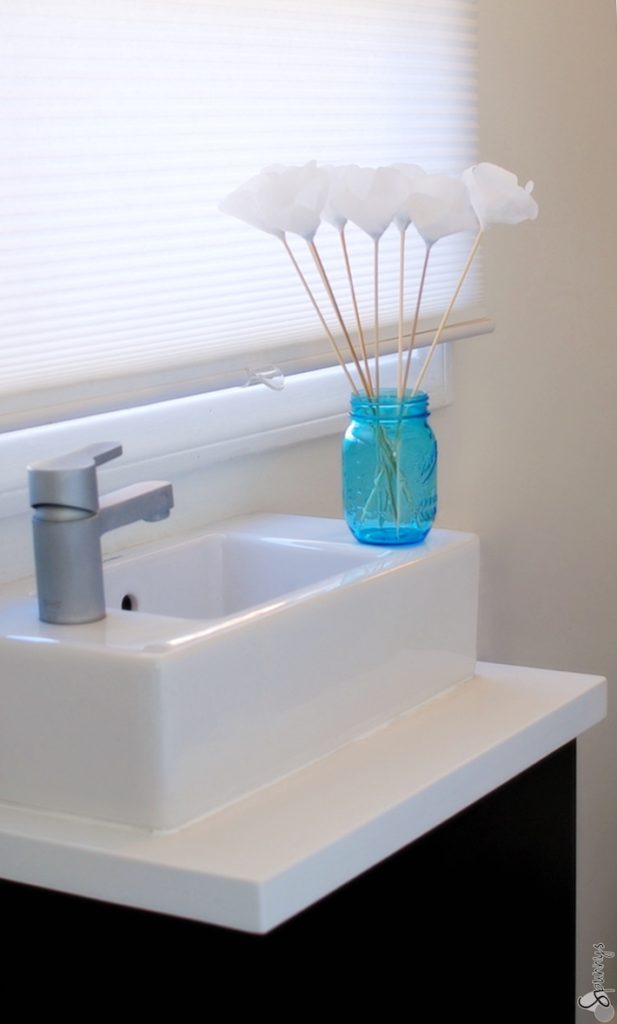
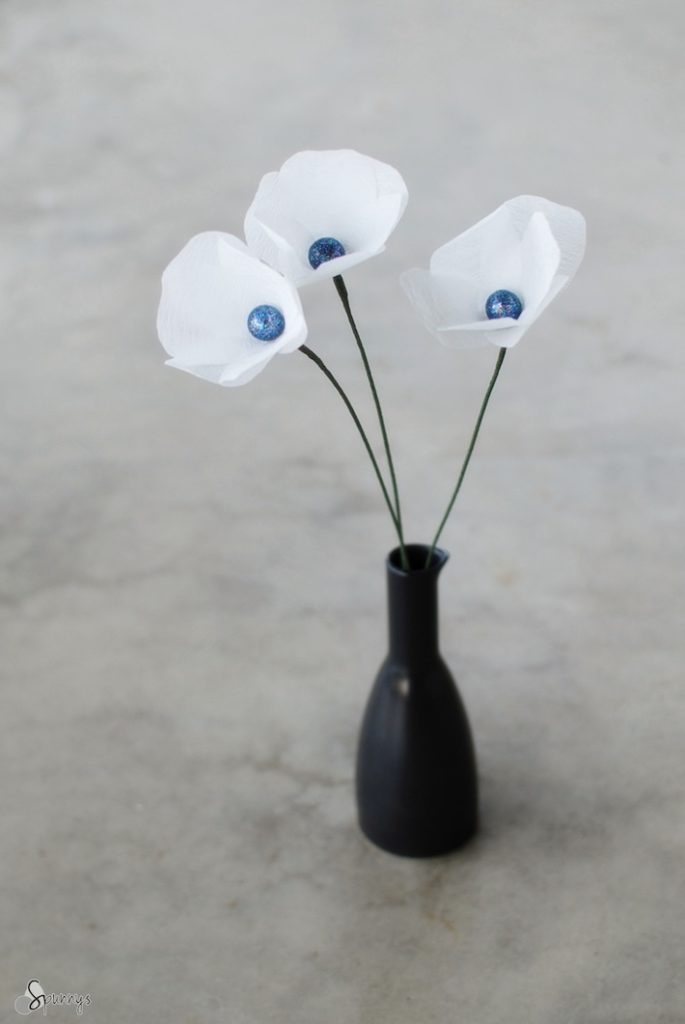
Fabric petals poppy Wooden sticks Glittered centers
