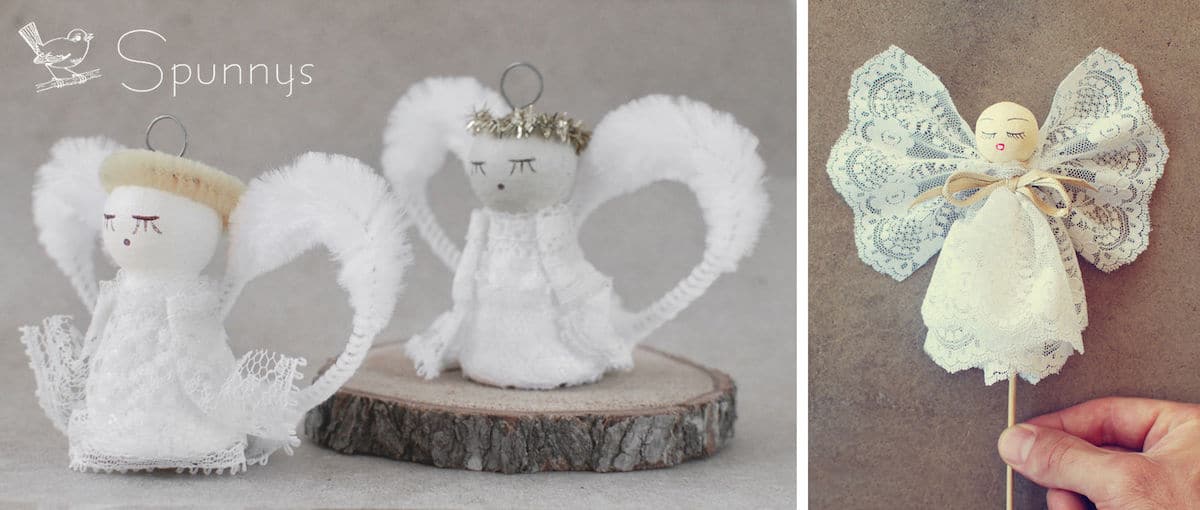
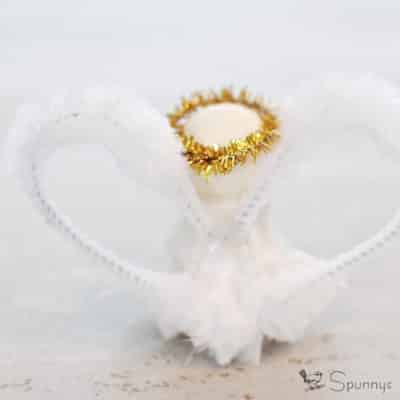
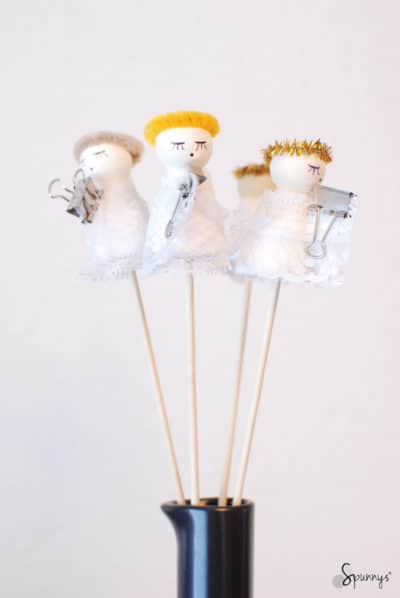
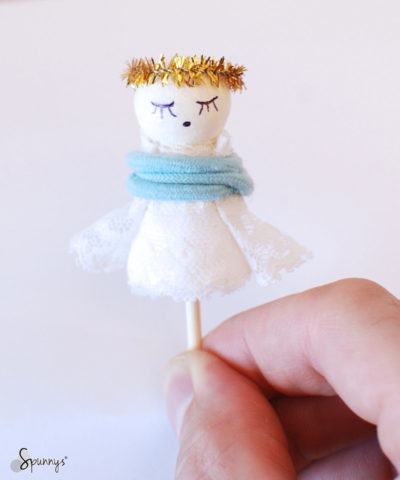
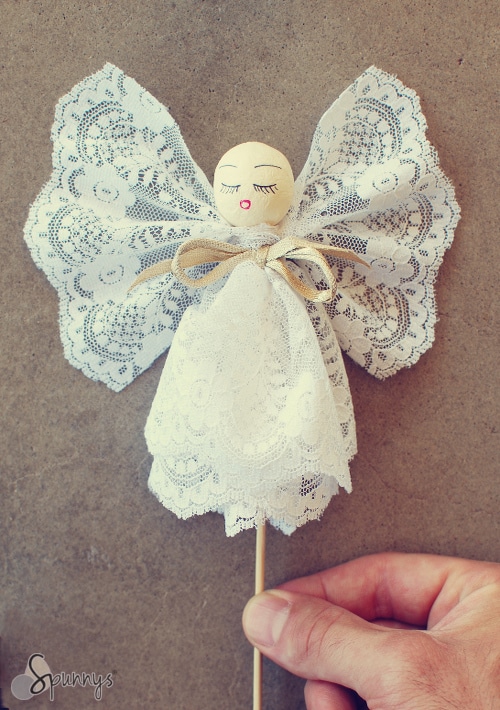
Check out our two tutorials and learn how you can make your own Vintage Style Angel Ornaments.
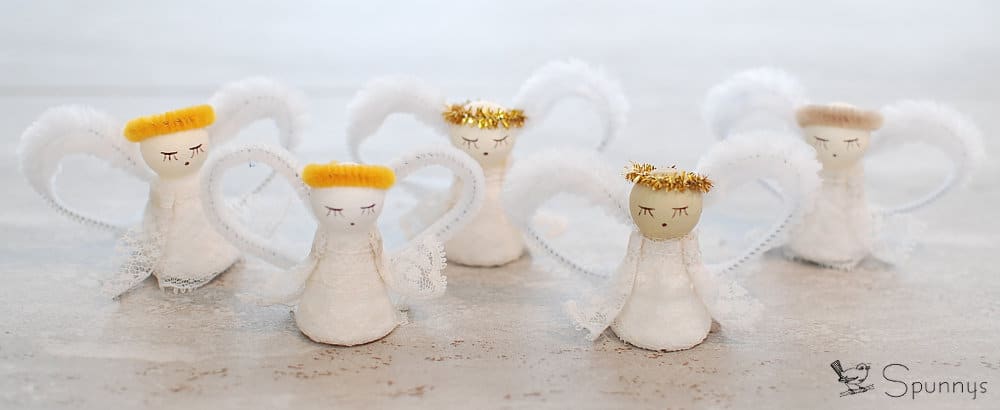
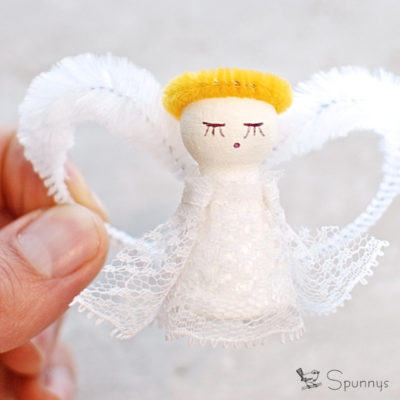
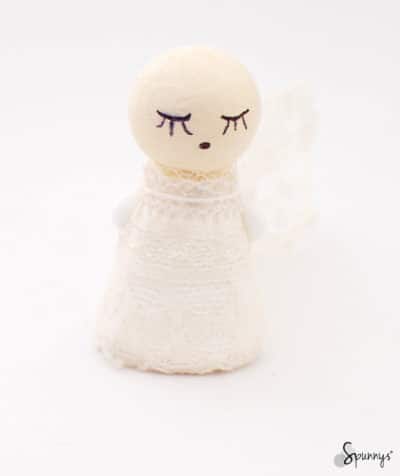
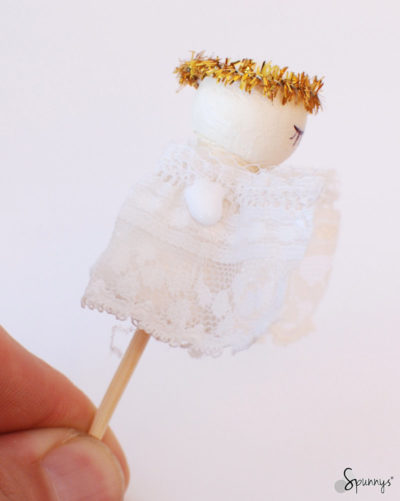
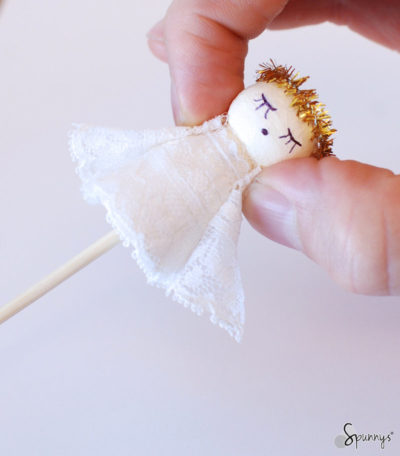
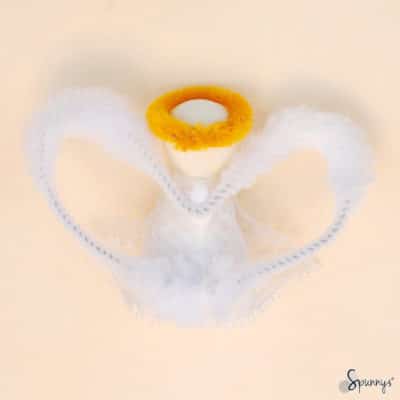
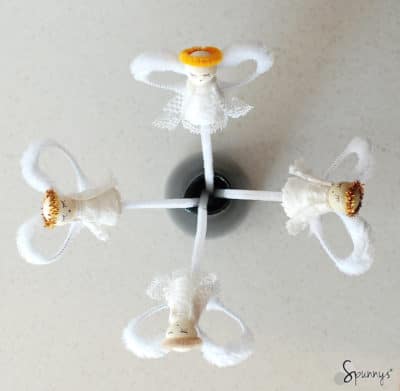
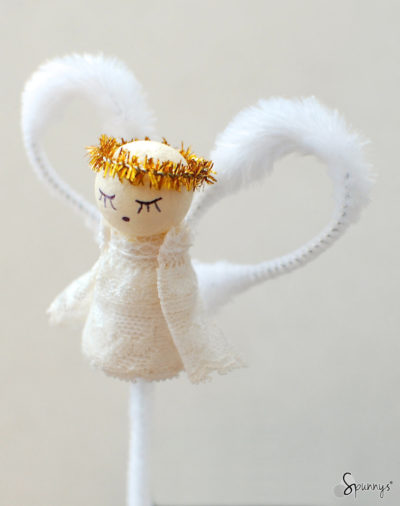
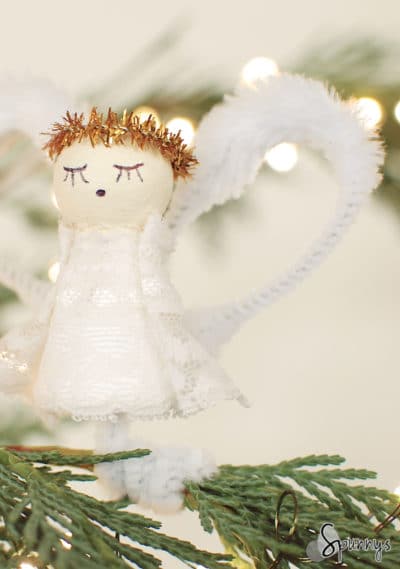
The two tutorials are quite different. The angel ornaments from the first tutorial have fluffy heart shaped wings, and beautiful lace gowns whereas the angel ornaments from the second tutorial have a gorgeous traditional look in which lace is the star of the show.
Tutorial 1: Heart-shaped wings Vintage Angel Ornaments
Project materials list
- Blank Spun Cotton Figurines (cone fellow – small).
- Bump white pipe cleaners (one strand per angel).
- Gold, or yellow, or beige pipe cleaners for the angel halos.
- White craft tacky glue.
- 1 1/2 ” wide Ruffled lace, about 4 1/2 inches per angel.
- A pair of wire cutters.
- Acrylic paint for the angel faces. Your choice of color.
- A black ball pen to draw the eyes and the mouths.
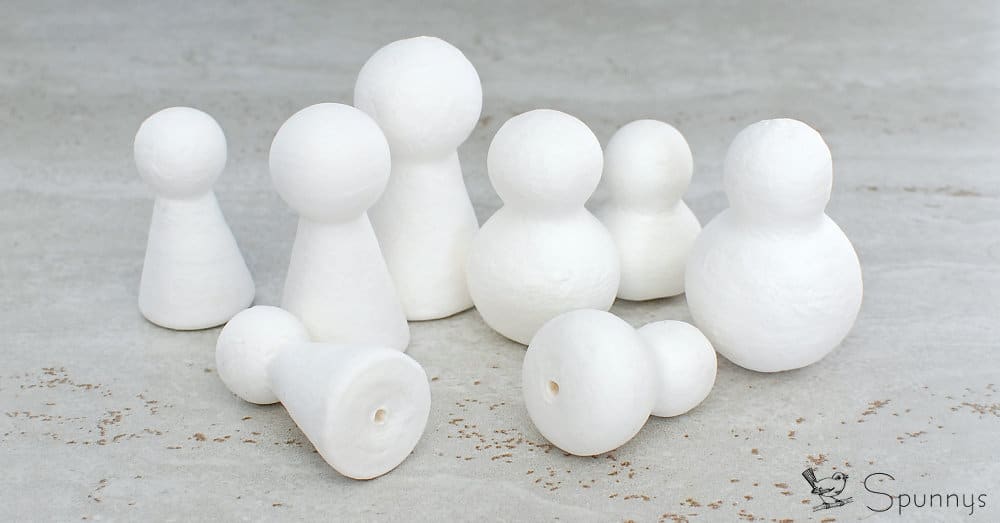
Spun Cotton Figurines 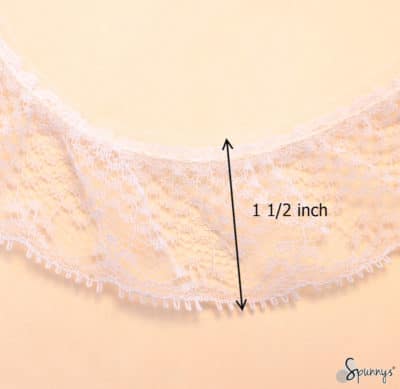
Ruffled lace
Step by step directions
1: Gather your materials.
2: Paint the heads of the angel ornaments in one solid color.
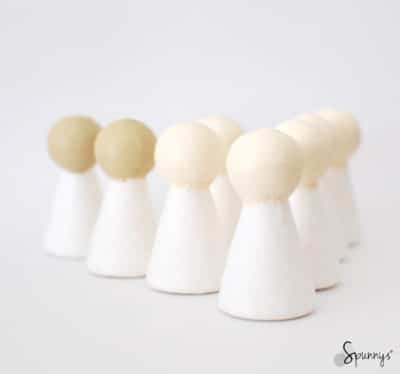
3: With the black ball pen, draw the mouths and the eyes.
4:. Pour glue on your figurine bodies.
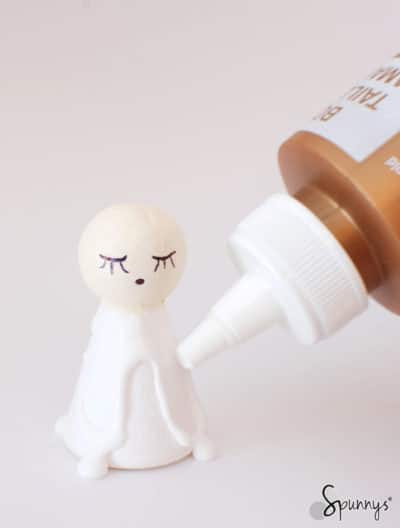
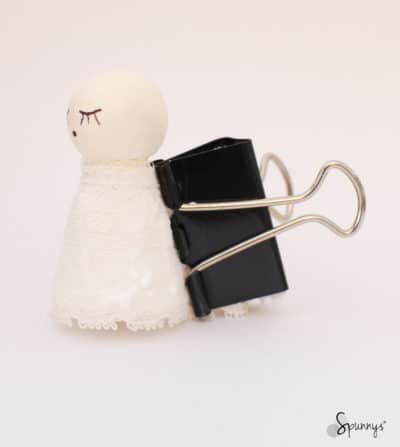
5: Dress each figurine with a 4.5″ long piece of lace. Make sure the ends of the lace meet in the back (you can use a paper clip to keep them together).
6: When the glue is dry, remove the paper clips and pour a small bead of glue on each side of the figurines.
7: Fold the lace over the two beads of glue. The lace endings are now pointing forward. Keep the lace in this configuration until the glue is dry. You can use a small paper clip.
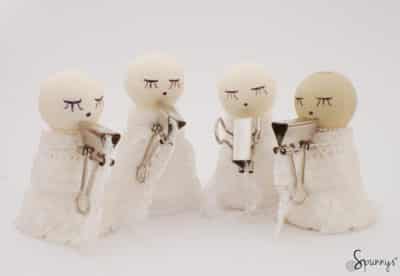
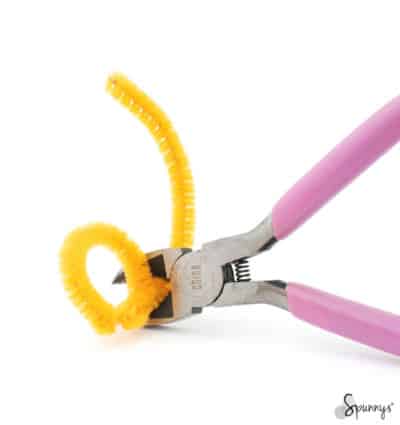
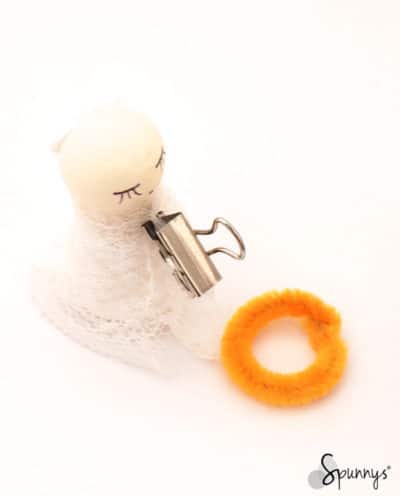
8: While the glue dries, you can work on the halos. Just create a loop with a piece of pipe cleaner, twist the ends together a few times, and cut off the excess.
9: Glue the halos to the angel heads. Try to use as little glue as possible so as not to leave any glue marks.
10: Let your ornaments rest a little until the glue under the halos and the glue under the lace pieces is dry.
11: Remove the paper clips and pour two more beads of glue on the sides of your dolls.
12: Fold the lace ends back and keep them in this position with a rubber band. Let dry.
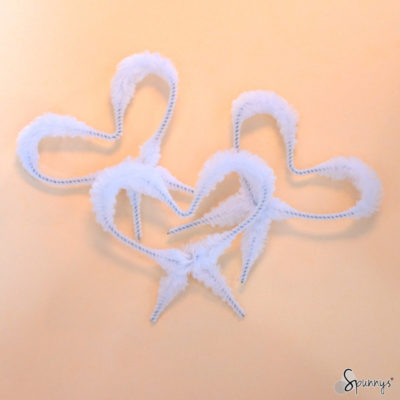
13: Almost done. Bend the white bumpy pipe cleaners into heart shapes. Twist the ends together.
14: Cut off the excess pipe cleaner with a wire cutter.
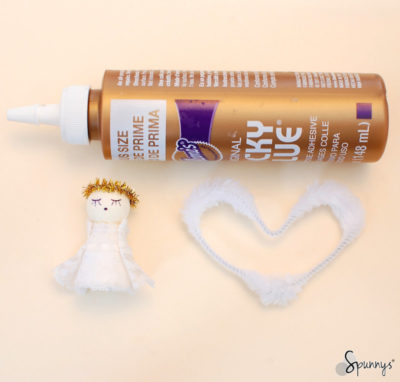
15: Final gluing. Pour two good size beads of glue on the back of your ornaments.
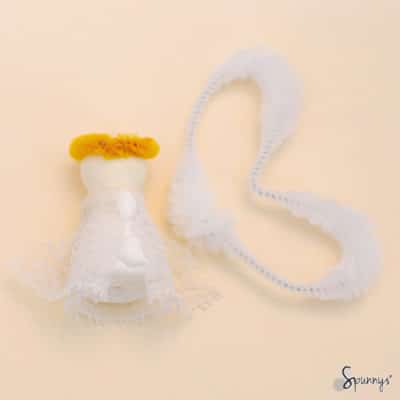
16: Gently add the wings to your angels. Make sure they are centered
17: Rest your ornaments in a safe and quiet place until the glue is dry :)
YOU ARE DONE :)
Tutorial 2: Traditional Vintage Angel Ornament
Project Materials:
– A 30mm spun cotton ball for the head. They are lightweight and easy to draw on.
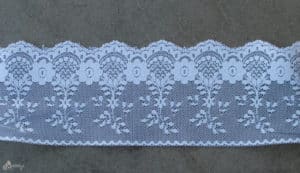
– A piece of lace about 2 feet long and 3 1/2″ wide.
– A crylic paint for the head (I used a pale yellow color).
– A black ball pen (for the eyes) and a red ball pen (for the mouth).
– A piece of ribbon (about 10″ long)
– A bamboo skewer (a toothpick would work too).
– A pair of scissors and a stapler.
Step by step directions:
- Paint the ball in one solid color and let it dry. To give the skin color a vintage look, use a pale washed off color such as pale brown, yellow or pink.
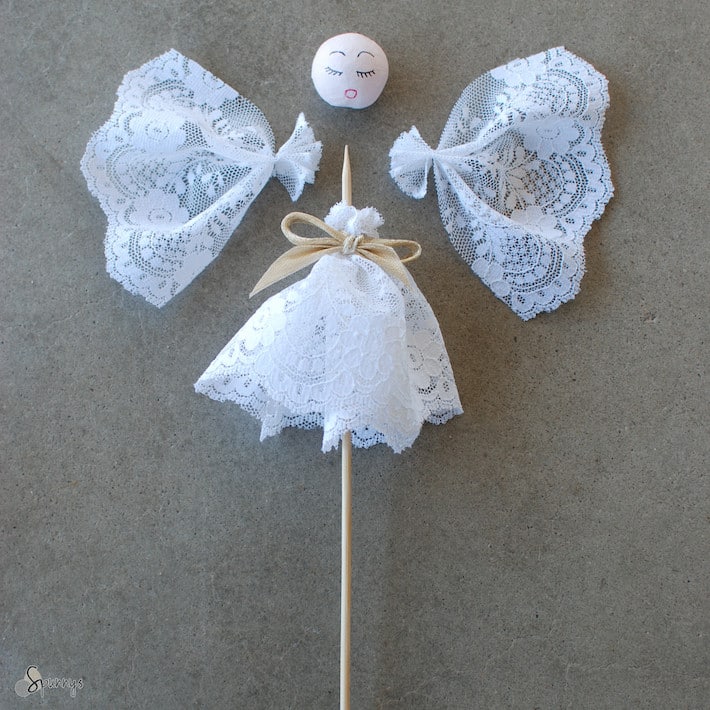
- Cut your lace into three pieces: one long 12″ long piece (the body) and two short 5″ long pieces (the wings).
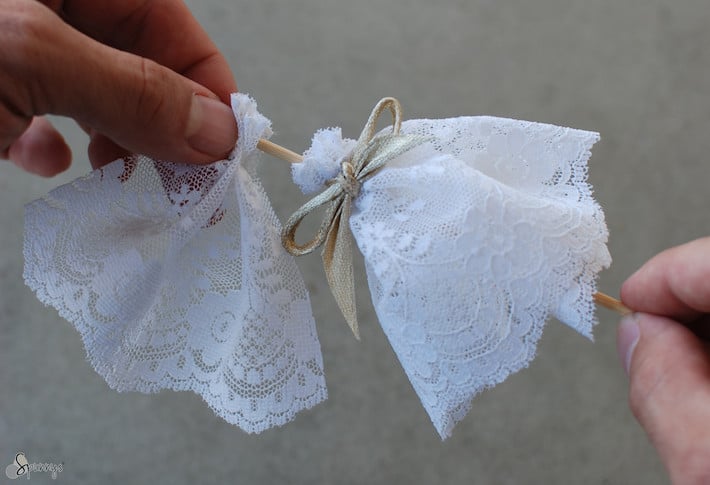
- Prepare the wings. Fold a short piece of lace into an accordion fold and staple one end. Repeat with the other wing.
- Prepare the body: Wrap the long piece of lace around the bamboo skewer making sure to create pleats as you go. Tie a piece of ribbon around the lace to secure it into place.
- By now the head should be dry. With the two pens, draw the eyes and mouths.
- Slide the wings down on the pointy end of the bamboo skewer. Roll the bamboo skewer through your fingers to help.
- Add the angel’s head
You are done :)
I hope you enjoyed these angel tutorials and are ready to embark on your own vintage angel ornament projects. As usual, do not hesitate to ask questions, we are always happy to help. Happy crafting!


Hi Nicolas,
Just found the two Angels and will be making them for our Church for Christmas display.
As many different ones as I can find.
Love these as they are easy to make. Passed link onto my friends.
If you have any more easy Angels like these I would like to see them.
Keep crafting
Take care
John
Hi John, Thank you for your kind words and for sharing the link.
All my best,
Nicolas
These angels are absolutely lovely. I would love them in my home. Do you sell them made by you? I would be thrilled to be able to buy them complete. I have left contact information.
Karen Griffin
Hello Karen,
Thank you so much for your comment :) It never crossed my mind but why not after all. I sent you an email directly.
Best Regards,
Nicolas