Posted on Leave a comment

How to make Halloween Ghost Ornaments – Spooky DIY Crafts

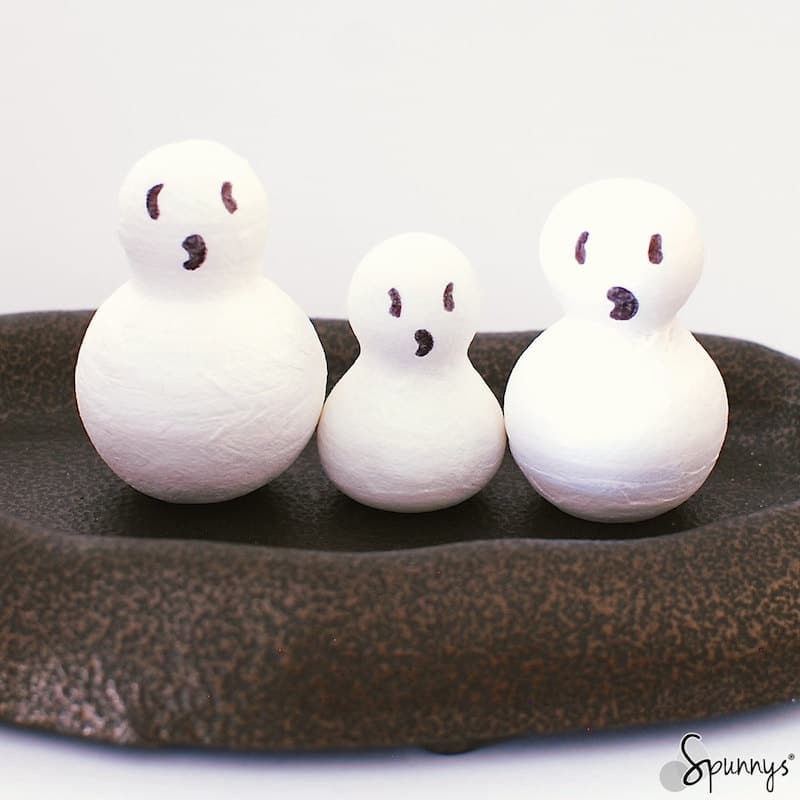
Halloween ghost ornaments DIY

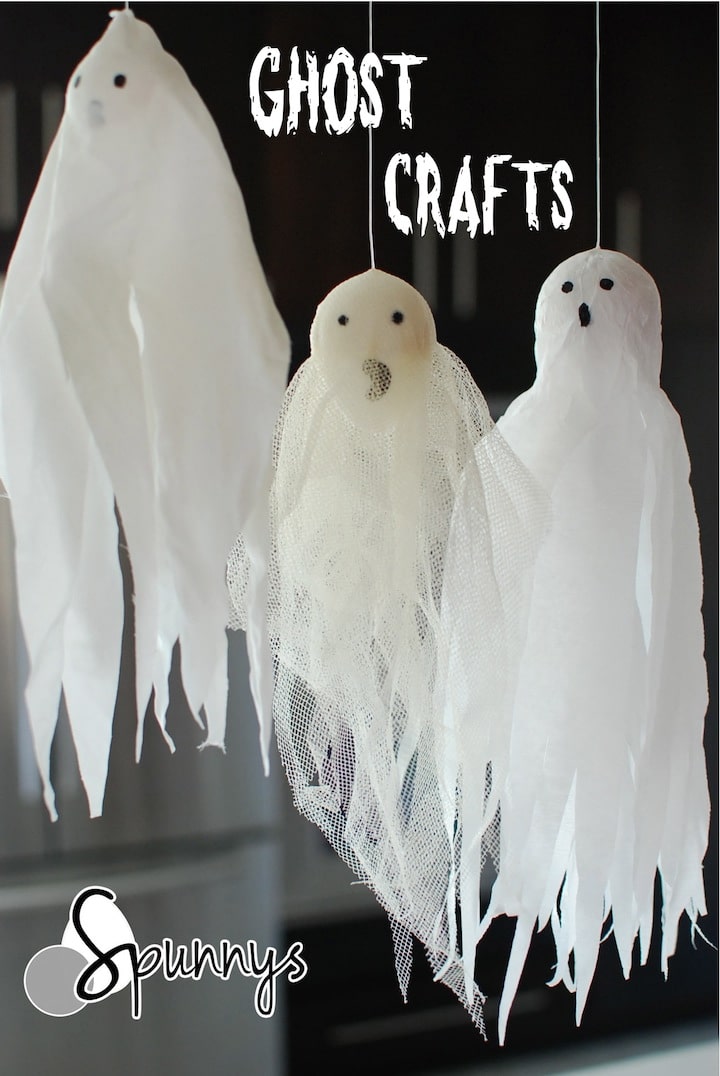
In this tutorial, learn how to make spooky little ghost ornaments that you can hang anywhere around the house for Halloween.

Ghost ornaments – Materials

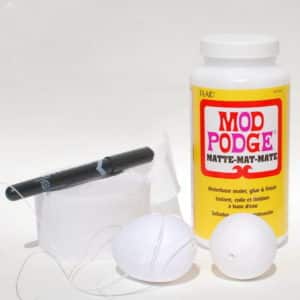
  • Your choice of spun cotton balls or spun cotton eggs. I used 45 mm spun cotton balls for the pillowcases and crepe streamer ghosts and a 60mm tall spun cotton egg for the cheese cloth ghost ornament.
  • Depending on which ghost(s) you want to make, your choice of white fabric (old T-shirt, old pillow case), cheesecloth, or crepe streamer.
  • Black marker and pencil.
  • Mod podge or similar.
  • A few feet of fishing line.
  • A glue gun or some regular white craft glue.
  • A good pair of scissors.
  • A rubber band (for the cheesecloth ghost).
ghost craft ornaments materials

Step by step directions

The first 2 steps are the identical for the three projects.

  1. Insert one end of the fishing line in the spun cotton shape holes and pour hot glue. You could also use regular white craft glue but it would take much longer to dry.
  2. Draw a spooky ghost face onto the shapes with the black marker.
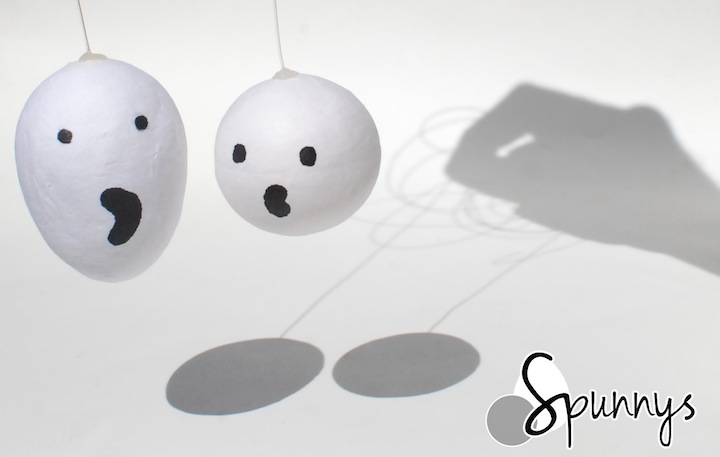
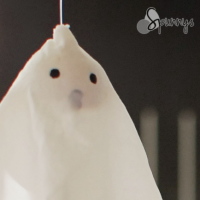
homemade ghost monster skull ornament tutorial DIY

Halloween Pillowcase Ghost Ornament

Pillowcase ghost ornament Halloween DIY craft ideas tutorial
  1. Make a tiny hole in the corner of an old pillowcase and thread the fishing line through until the pillowcase covers the ball.
  2. Cut the pillowcase to the desired length.
  3. Make two holes in the fabric for the eyes. To do so, mark the location of the eyes on the pillowcase with a pencil, remove the pillowcase completely and cut two little holes with a pair of scissors.
  4. Before putting the pillowcase back on the ball, brush a little mod podge over the ball, put the pillowcase back on and make sure the eyes are aligned with the holes. Let dry.
  5. Style the bottom of the the pillowcase by cutting off long triangle pieces.

Cheese Cloth Ghost Ornament

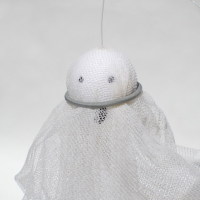
Cheesecloth ghost craft ideas Halloween ornaments
  1. Cut the cheesecloth into two 2 ft x 1 ft rectangles. Cover the ball with the cheesecloth pieces and wrap a rubber band around the ball to keep the cheesecloth in place. The fishing line goes through the middle of each piece of cheesecloth. Brush mod podge over the cheesecloth pieces. When dry, remove the rubber band.
  2. Style the bottom of  the cheesecloth by cutting off long triangle pieces.
  3. If the eyes don’t show through the cheesecloth (because they are covered with mod podge), you can re-draw them with the black marker over the cheesecloth

Crepe Streamer Ghost Ornament

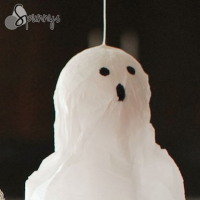
crepe streamers ghost ornament Halloween craft ideas
  1. Cut 6 stripes of crepe paper, about 2 feet long. Make a tiny hole in the center of each of them for the fishing line to go through.
  2. Brush a little mod podge on the top half of the ghost’s head. Slide a stripe of crepe streamer down the line until it sits on the ghost head.  Brush a little mod podge over the piece of crepe streamer.  Repeat with the 5 other pieces.  Make sure each piece sits at a different angle.
  3. Re-draw the mouth and eyes with the black marker over the crepe streamer pieces.
  4. Style the bottom of the crepe streamers by cutting off long triangle pieces.

You are done :) I hope you enjoyed this tutorial and as always if you would like to share your ideas or ask questions, do not hesitate to use the comment section below. Happy crafting and Happy Halloween!

A few more Halloween Craft Ideas.

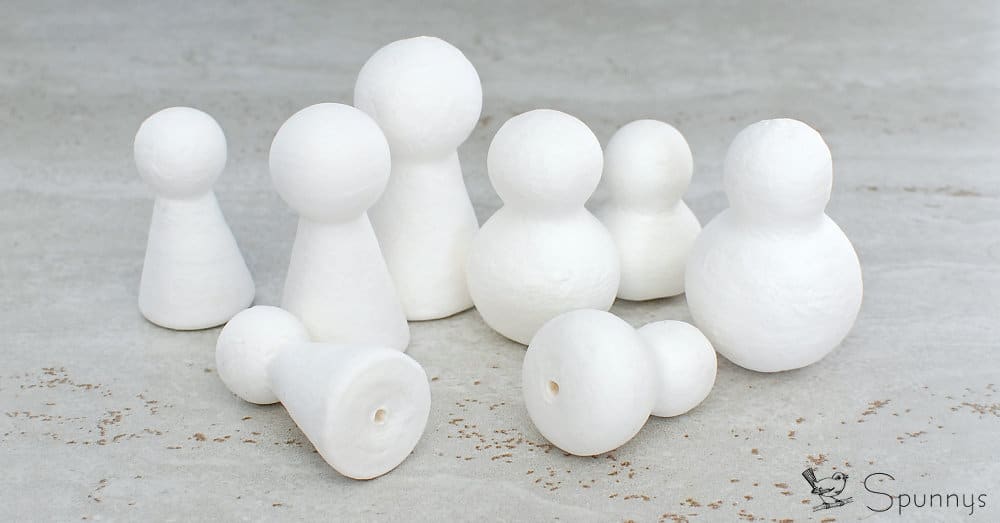
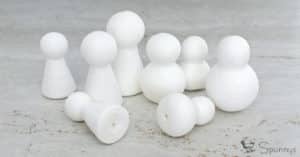
For these projects, we used blank spun cotton peg doll  shapes.
Posted on Leave a comment

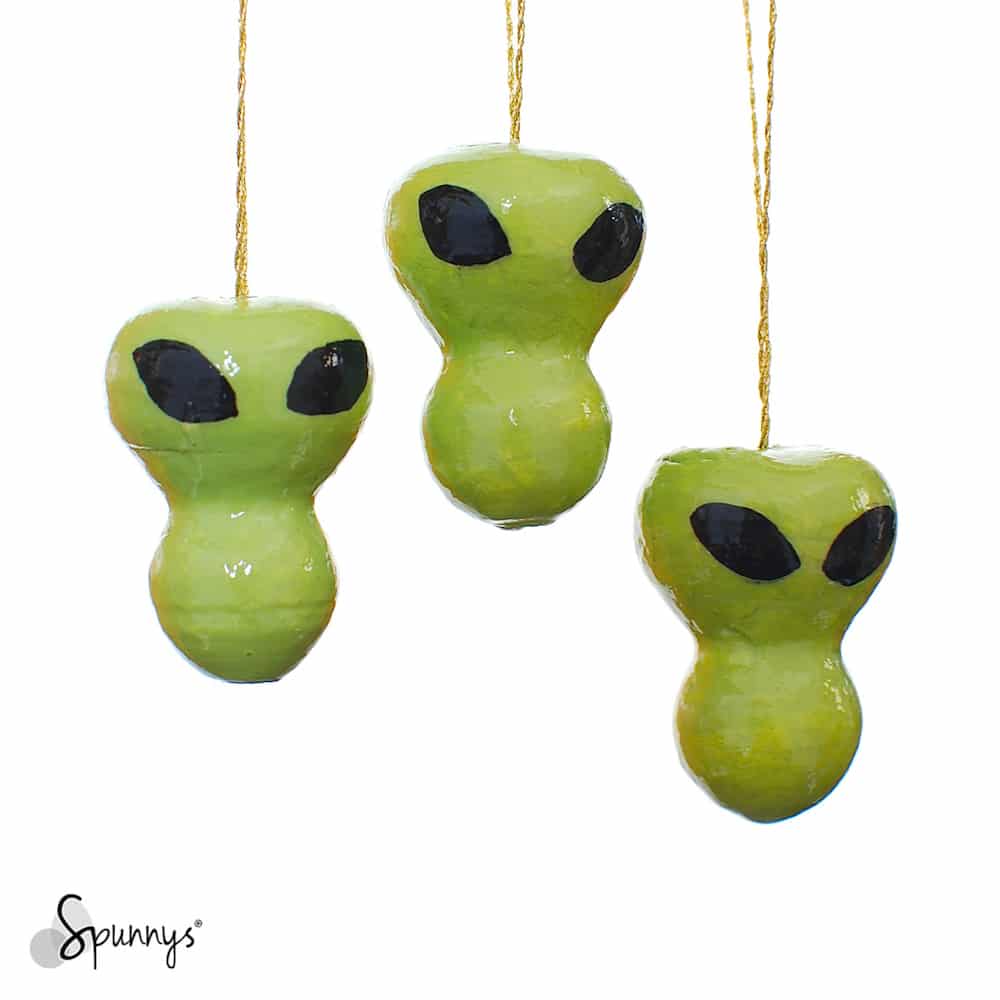
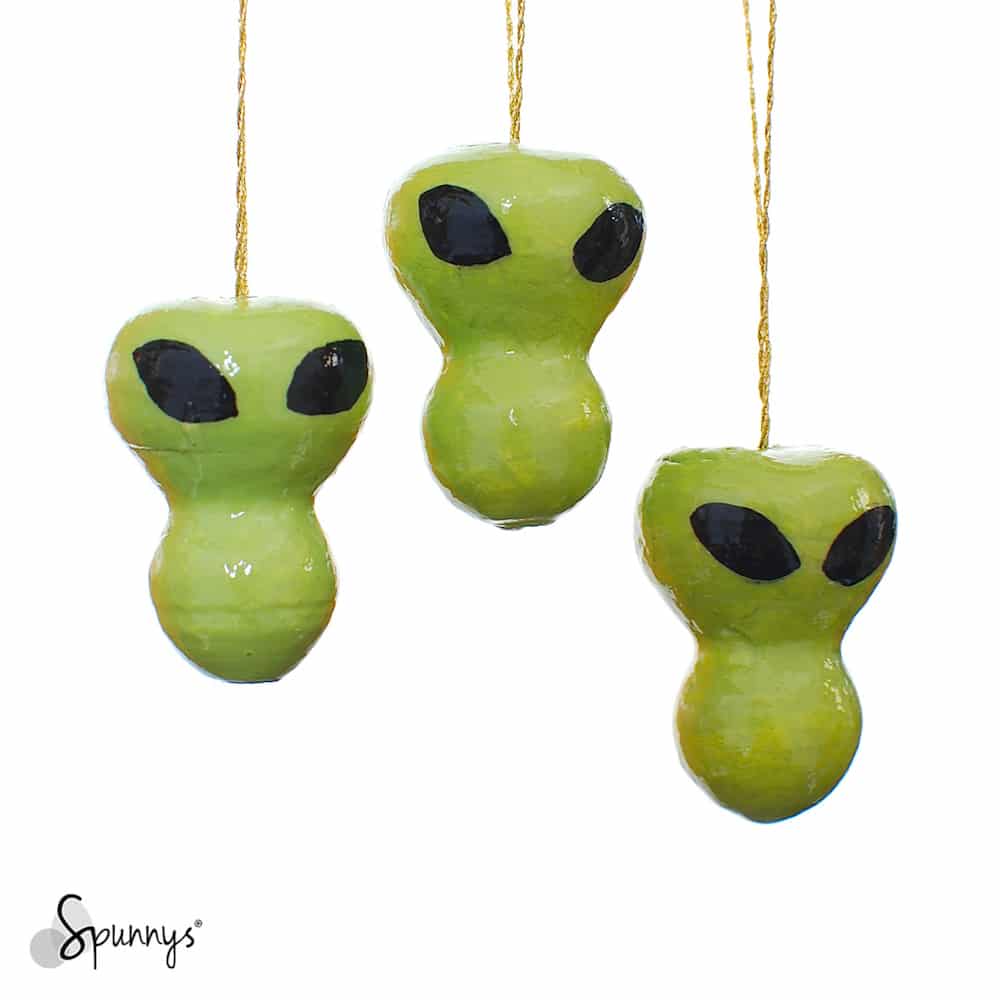
How to make Green Alien Ornaments – Halloween DIY crafts:

Halloween alien ornaments DIY

Check out our tutorial and learn how you can make spooky and slimy alien ornaments from spun cotton peg doll blanks.

List of materials:

– 40mm tall spun cotton peg dolls. Each peg doll will make one alien ornament.

Blank peg dolls

Peg dolls all have a little hole at the bottom

– Green and black acrylic paint.

– A few bamboo sticks.

– A jar of glossy mod podge for the slimy look.

– Your choice of string to make the hanging loop.

Project directions:

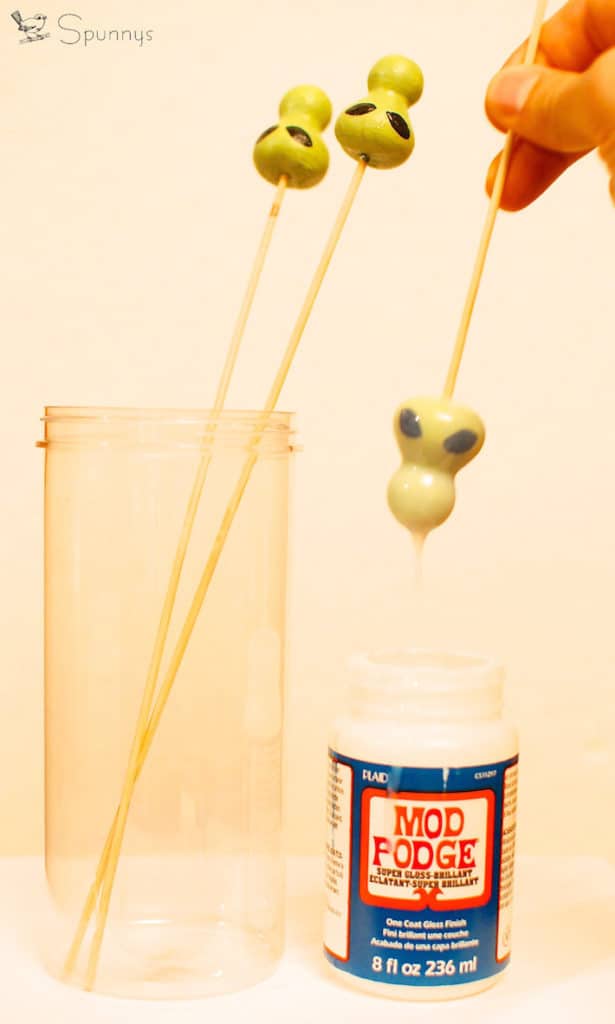
Step 1: Insert a skewer in each of your peg dolls and paint them all green. Rest the skewers in a container while the dolls dry.

Step 2: Use the black paint and paint the eyes of the alien ornaments. Let dry. Make sure the ornaments don’t touch each other while they dry.

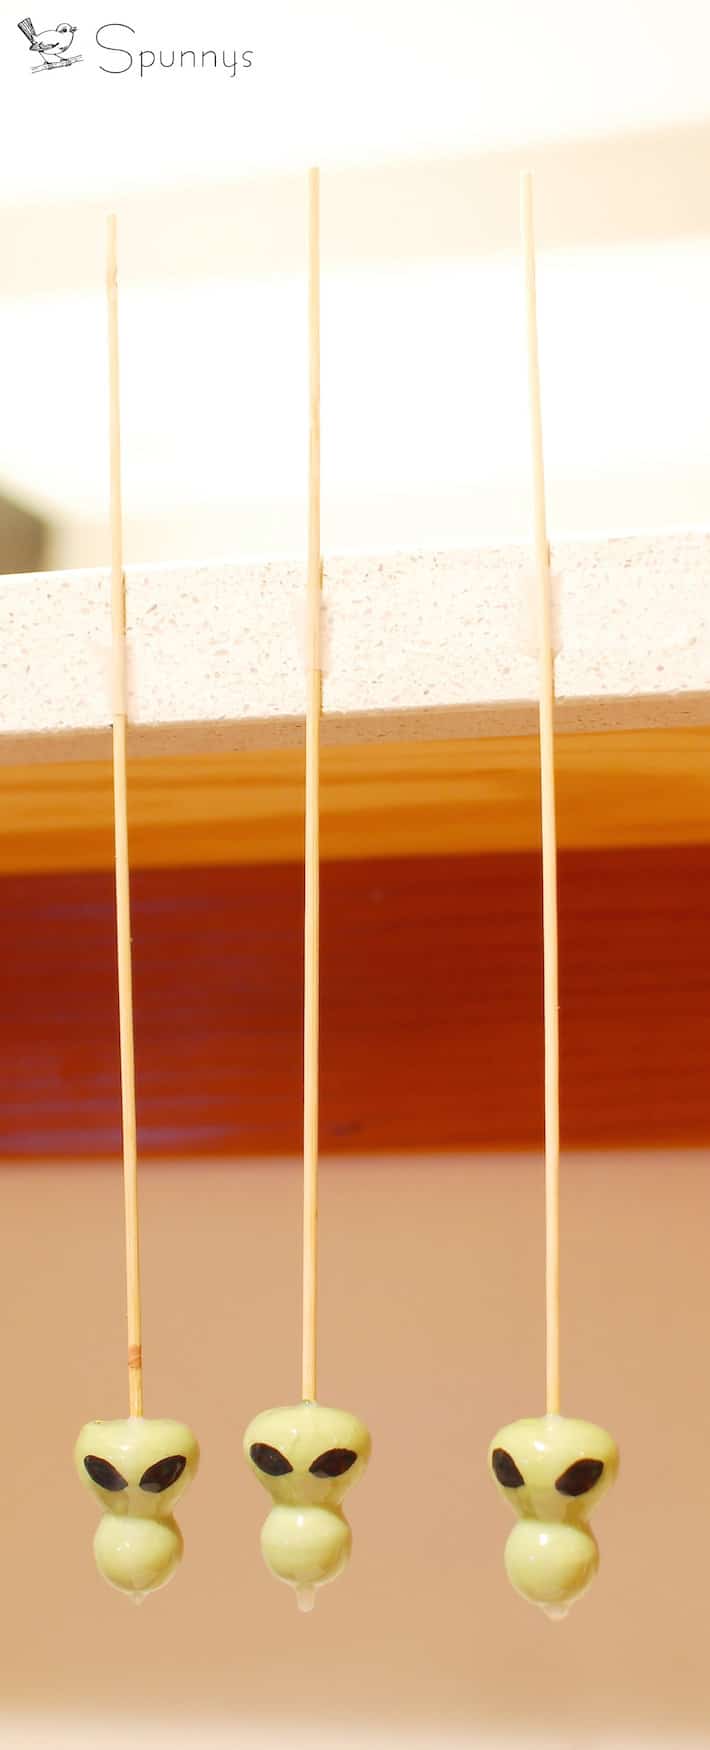
Step 3: keep your alien ornaments on their sticks and dunk them in the jar of glossy mod podge. Then find a place where you can rest the sticks in a perfectly vertical position while the mod podge dries. You can tape them to the edge of a counter for example (see picture below).

Step 4: Gently pull the sticks out of the alien ornaments by twisting and pulling.

Step 5: Tie a loop with a piece of string. Double the knot to enlarge it.

Step 6: insert the knot in the peg doll’s hole and push down with a bamboo skewer. Pour a little glue to secure the knot in the alien ornament. Let dry.

YOU ARE DONE :)

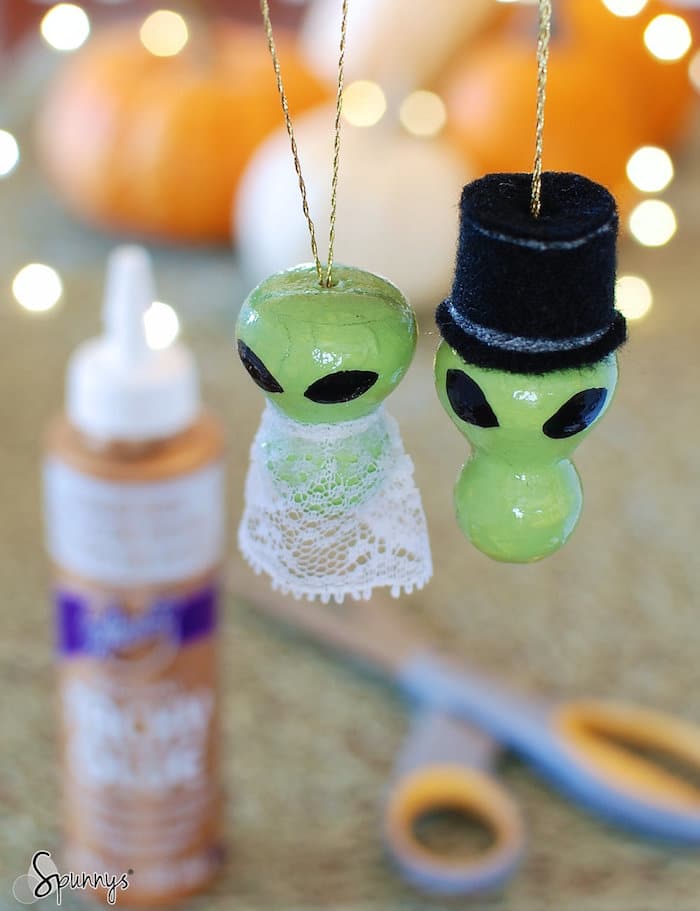
I hope you enjoyed this tutorial. You can also decorate your alien ornaments a little if you would like. Happy Crafting to all of you!

DIY Halloween decor aliens ornaments area 51

It’s wedding night at Area 51

Posted on Leave a comment

How to make Spooky Halloween Figurines from spun cotton figurine blanks – DIY Tutorial

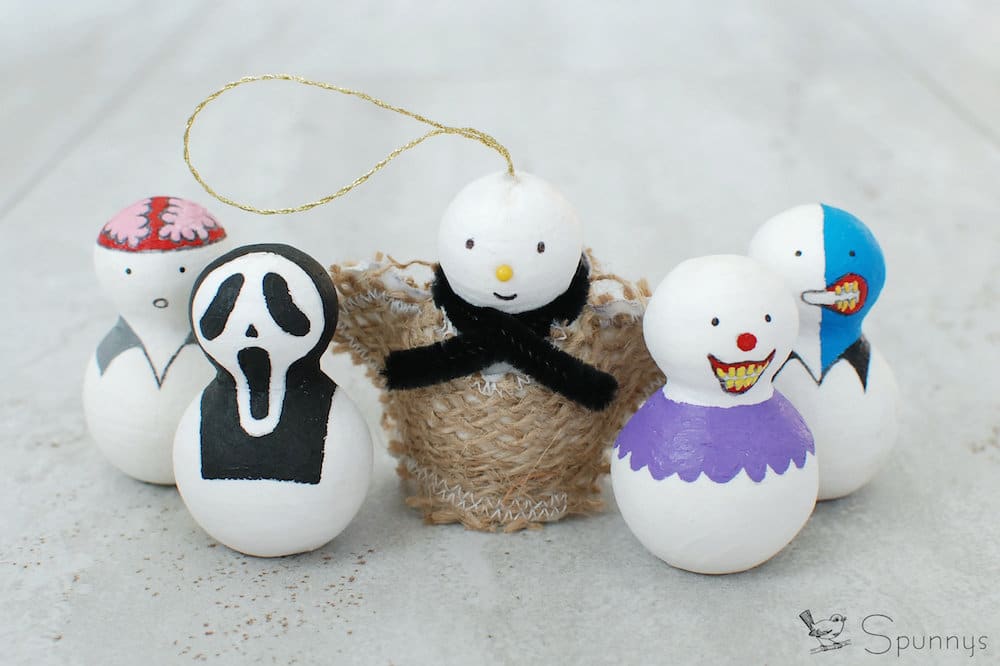
Spooky Halloween figurines DIY tutorial

Check out our easy tutorial and learn how to make your own Spooky Halloween Figurines from blank, ready to paint spun cotton figurines.

Halloween figurines DIY – materials

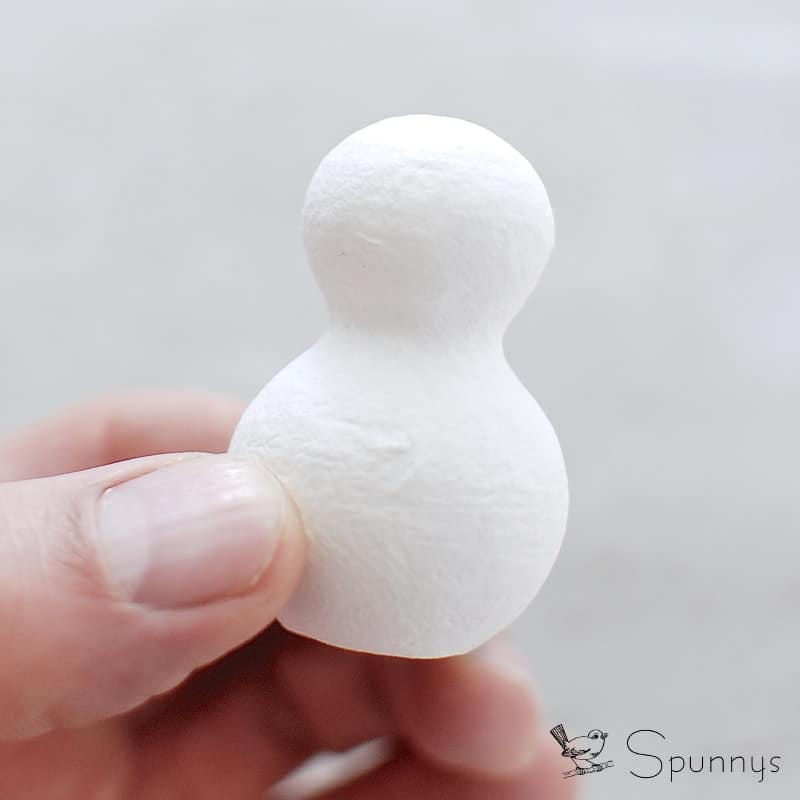
Blank peg people dolls
  • A pencil to outline.
  • A clear finish such as mod podge. It will protect your Halloween figurines for a long time.
  • A few wooden picks to hold your figurines while you paint them.
  • A black ball pen to draw lines an face details.

Painting tips and directions

Always outline your Halloween figurines with a pencil before painting with acrylic. If you are not happy with the outline, just use a regular eraser and start over.

Never rush. Let the paint dry before painting over it.

You can work on 2 projects at a time so you can paint one figurine while the other one dries.

Spun cotton figurine blanks do not require two coats of paint. There is also no need to prime them.

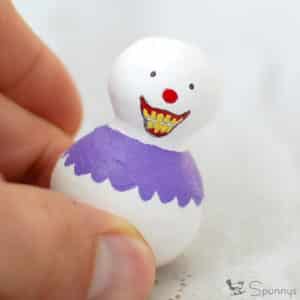
Use a ball-pen to draw lines instead of trying to paint them with a brush. For example, we used a regular ball pen to draw the mouth line of the scary clown figurine below.

scary clown peg doll

You are now ready to paint your own Halloween figurines :) But as always, if you have any questions, do not hesitate to leave a comment below and we’ll be happy to help. Happy Halloween and happy painting! 

Posted on Leave a comment

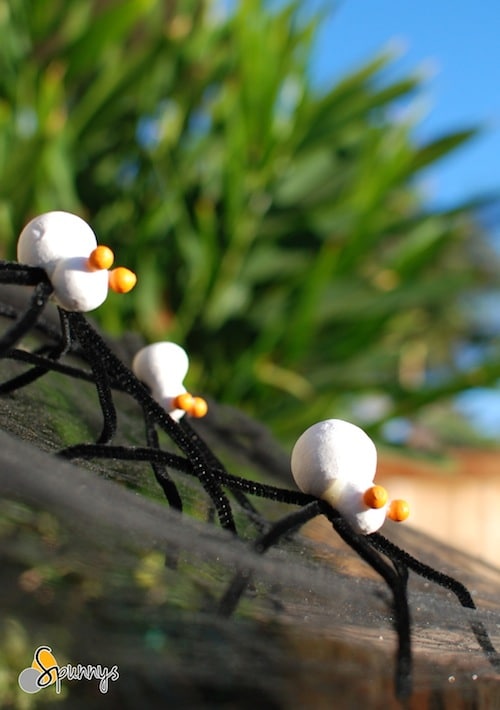
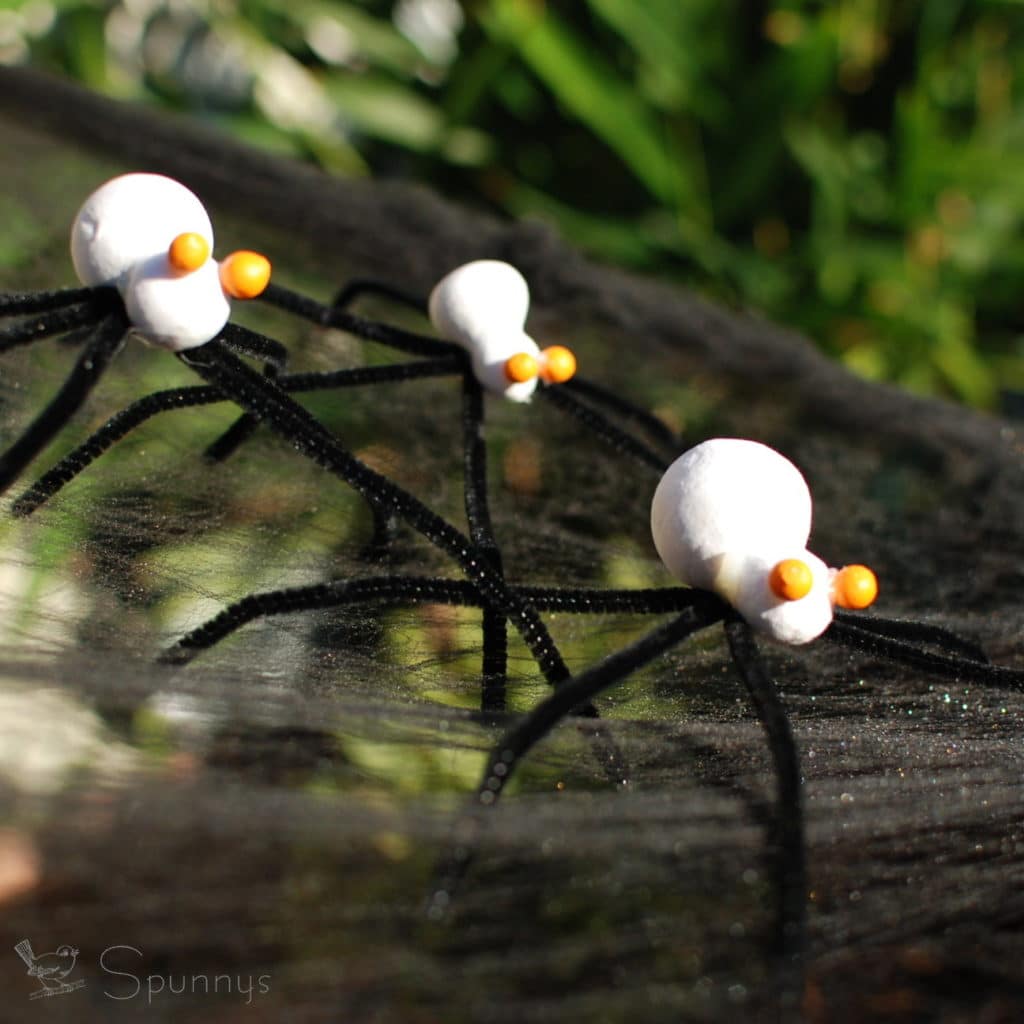
How to make pipe cleaner spider decorations – Halloween DIY

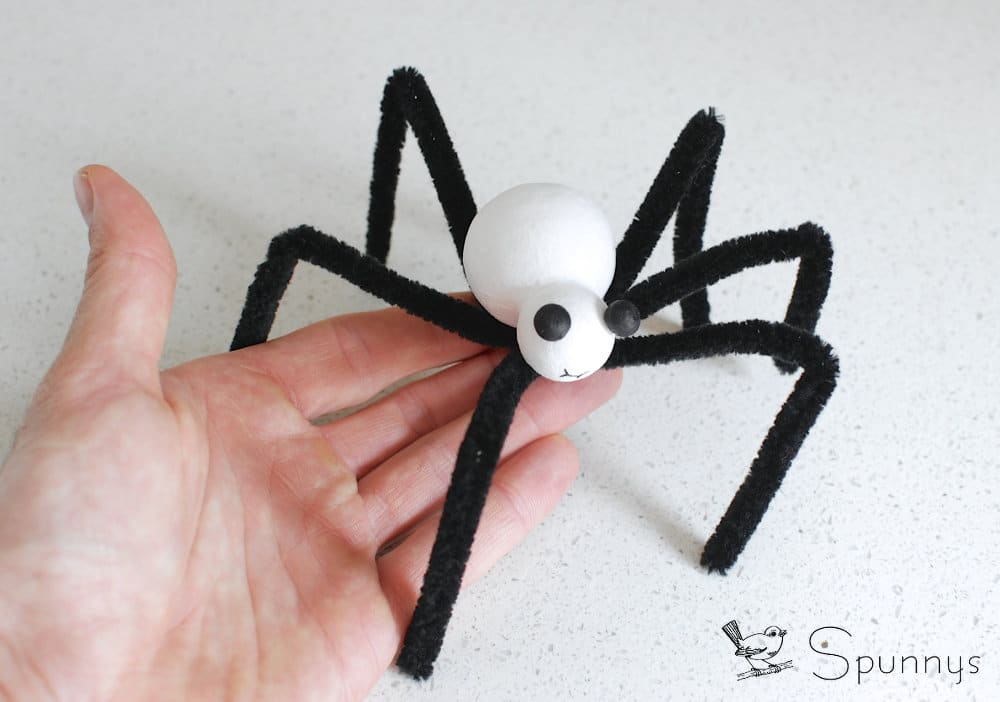
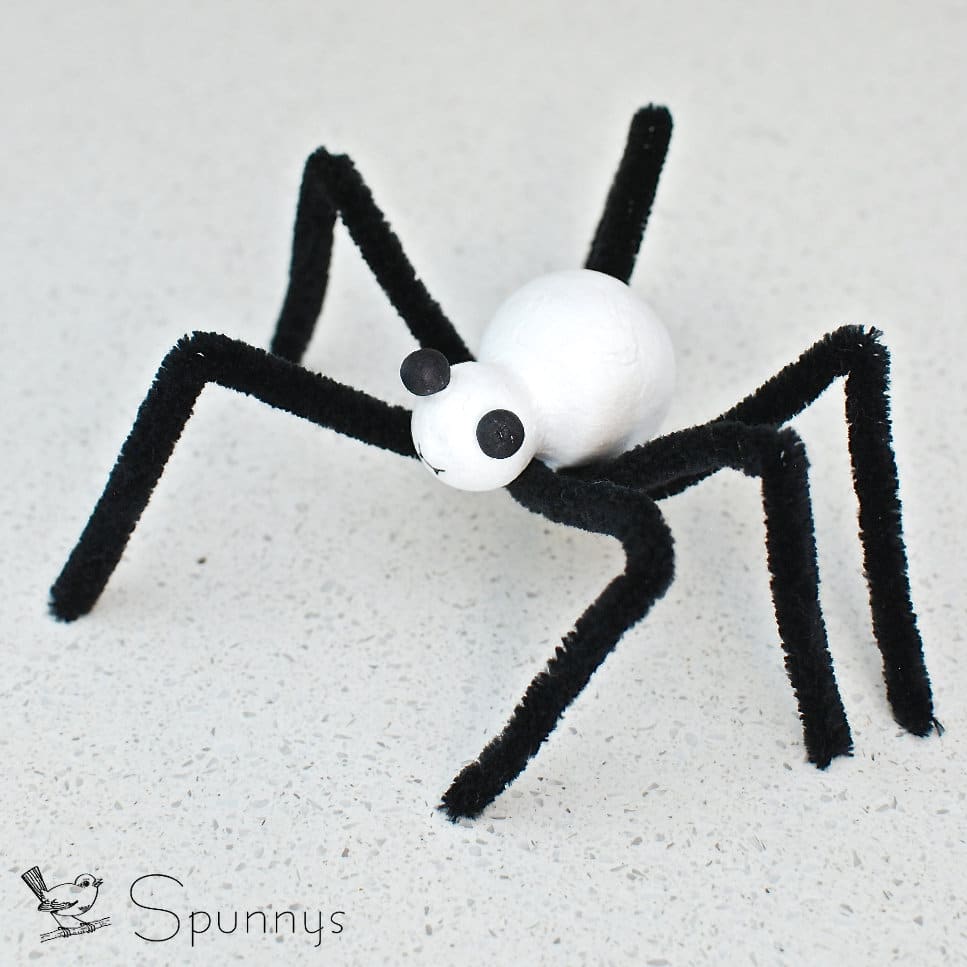
DIY big fake scary spider craft

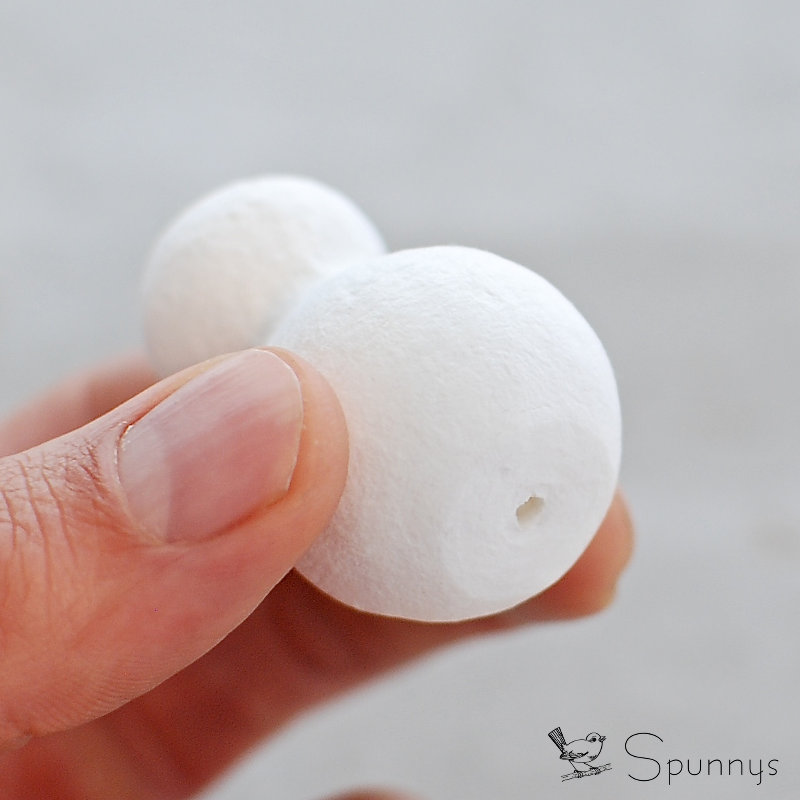
For Halloween, check out our tutorial and learn how you can make decorative giant spiders from spun cotton blank figurines and pipe cleaners.

Pipe Cleaner Spider – Materials

  • Black pipe cleaner strands (chenille). Three per spider.
  • Acrylic paint for the eyes. Your choice of color.
  • A paint brush
  • A glue gun or tacky glue.
DIY easy spider craft project

Step by step directions

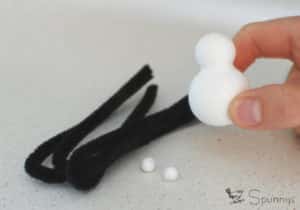
  1. Start with the eyes and paint all the balls. You can use bamboo skewers to hold the balls while you paint them. When you are done, you can rest the skewers in a container while the paint dries.
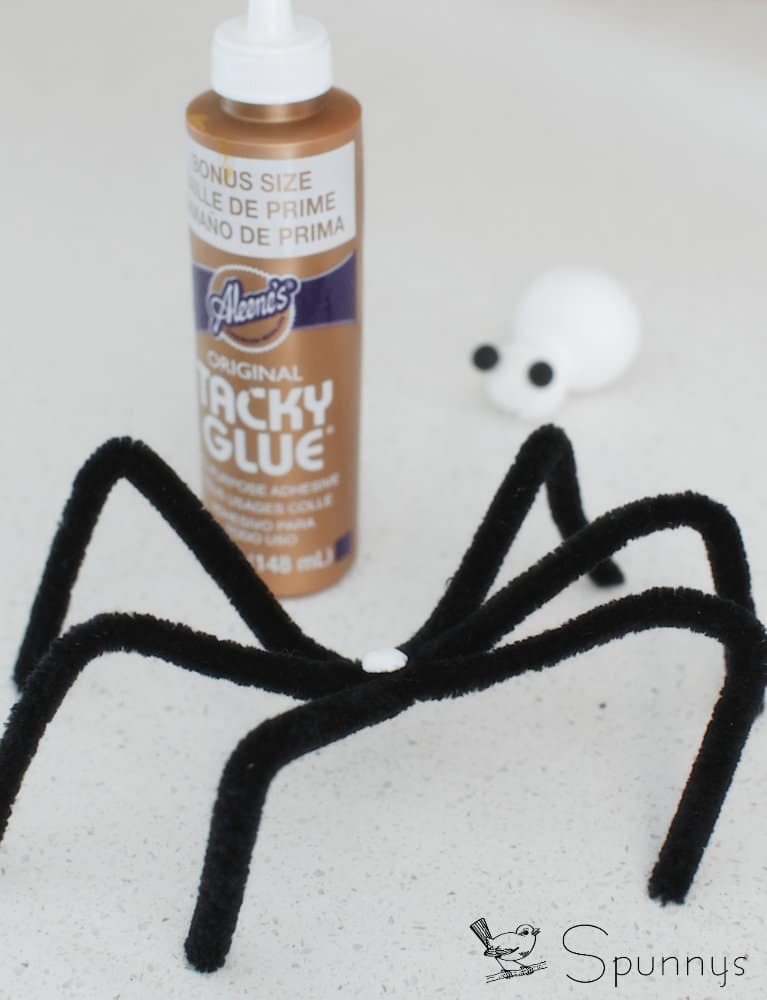
  2. Make the legs. Grab three chenille stems, hold them together as one, and twist them a few times in the middle.
  3. Glue everything together.

You are already done :)

“If you want to live and thrive, let the spider run alive” – Spanish proverb

I hope you enjoyed this tutorial. As always, do not hesitate to send us your questions.